The Great Australian Bake Off Technical Challenge – Week 5 Coffee Scrolls (Cinnamon Scrolls)

Cinnamon scrolls

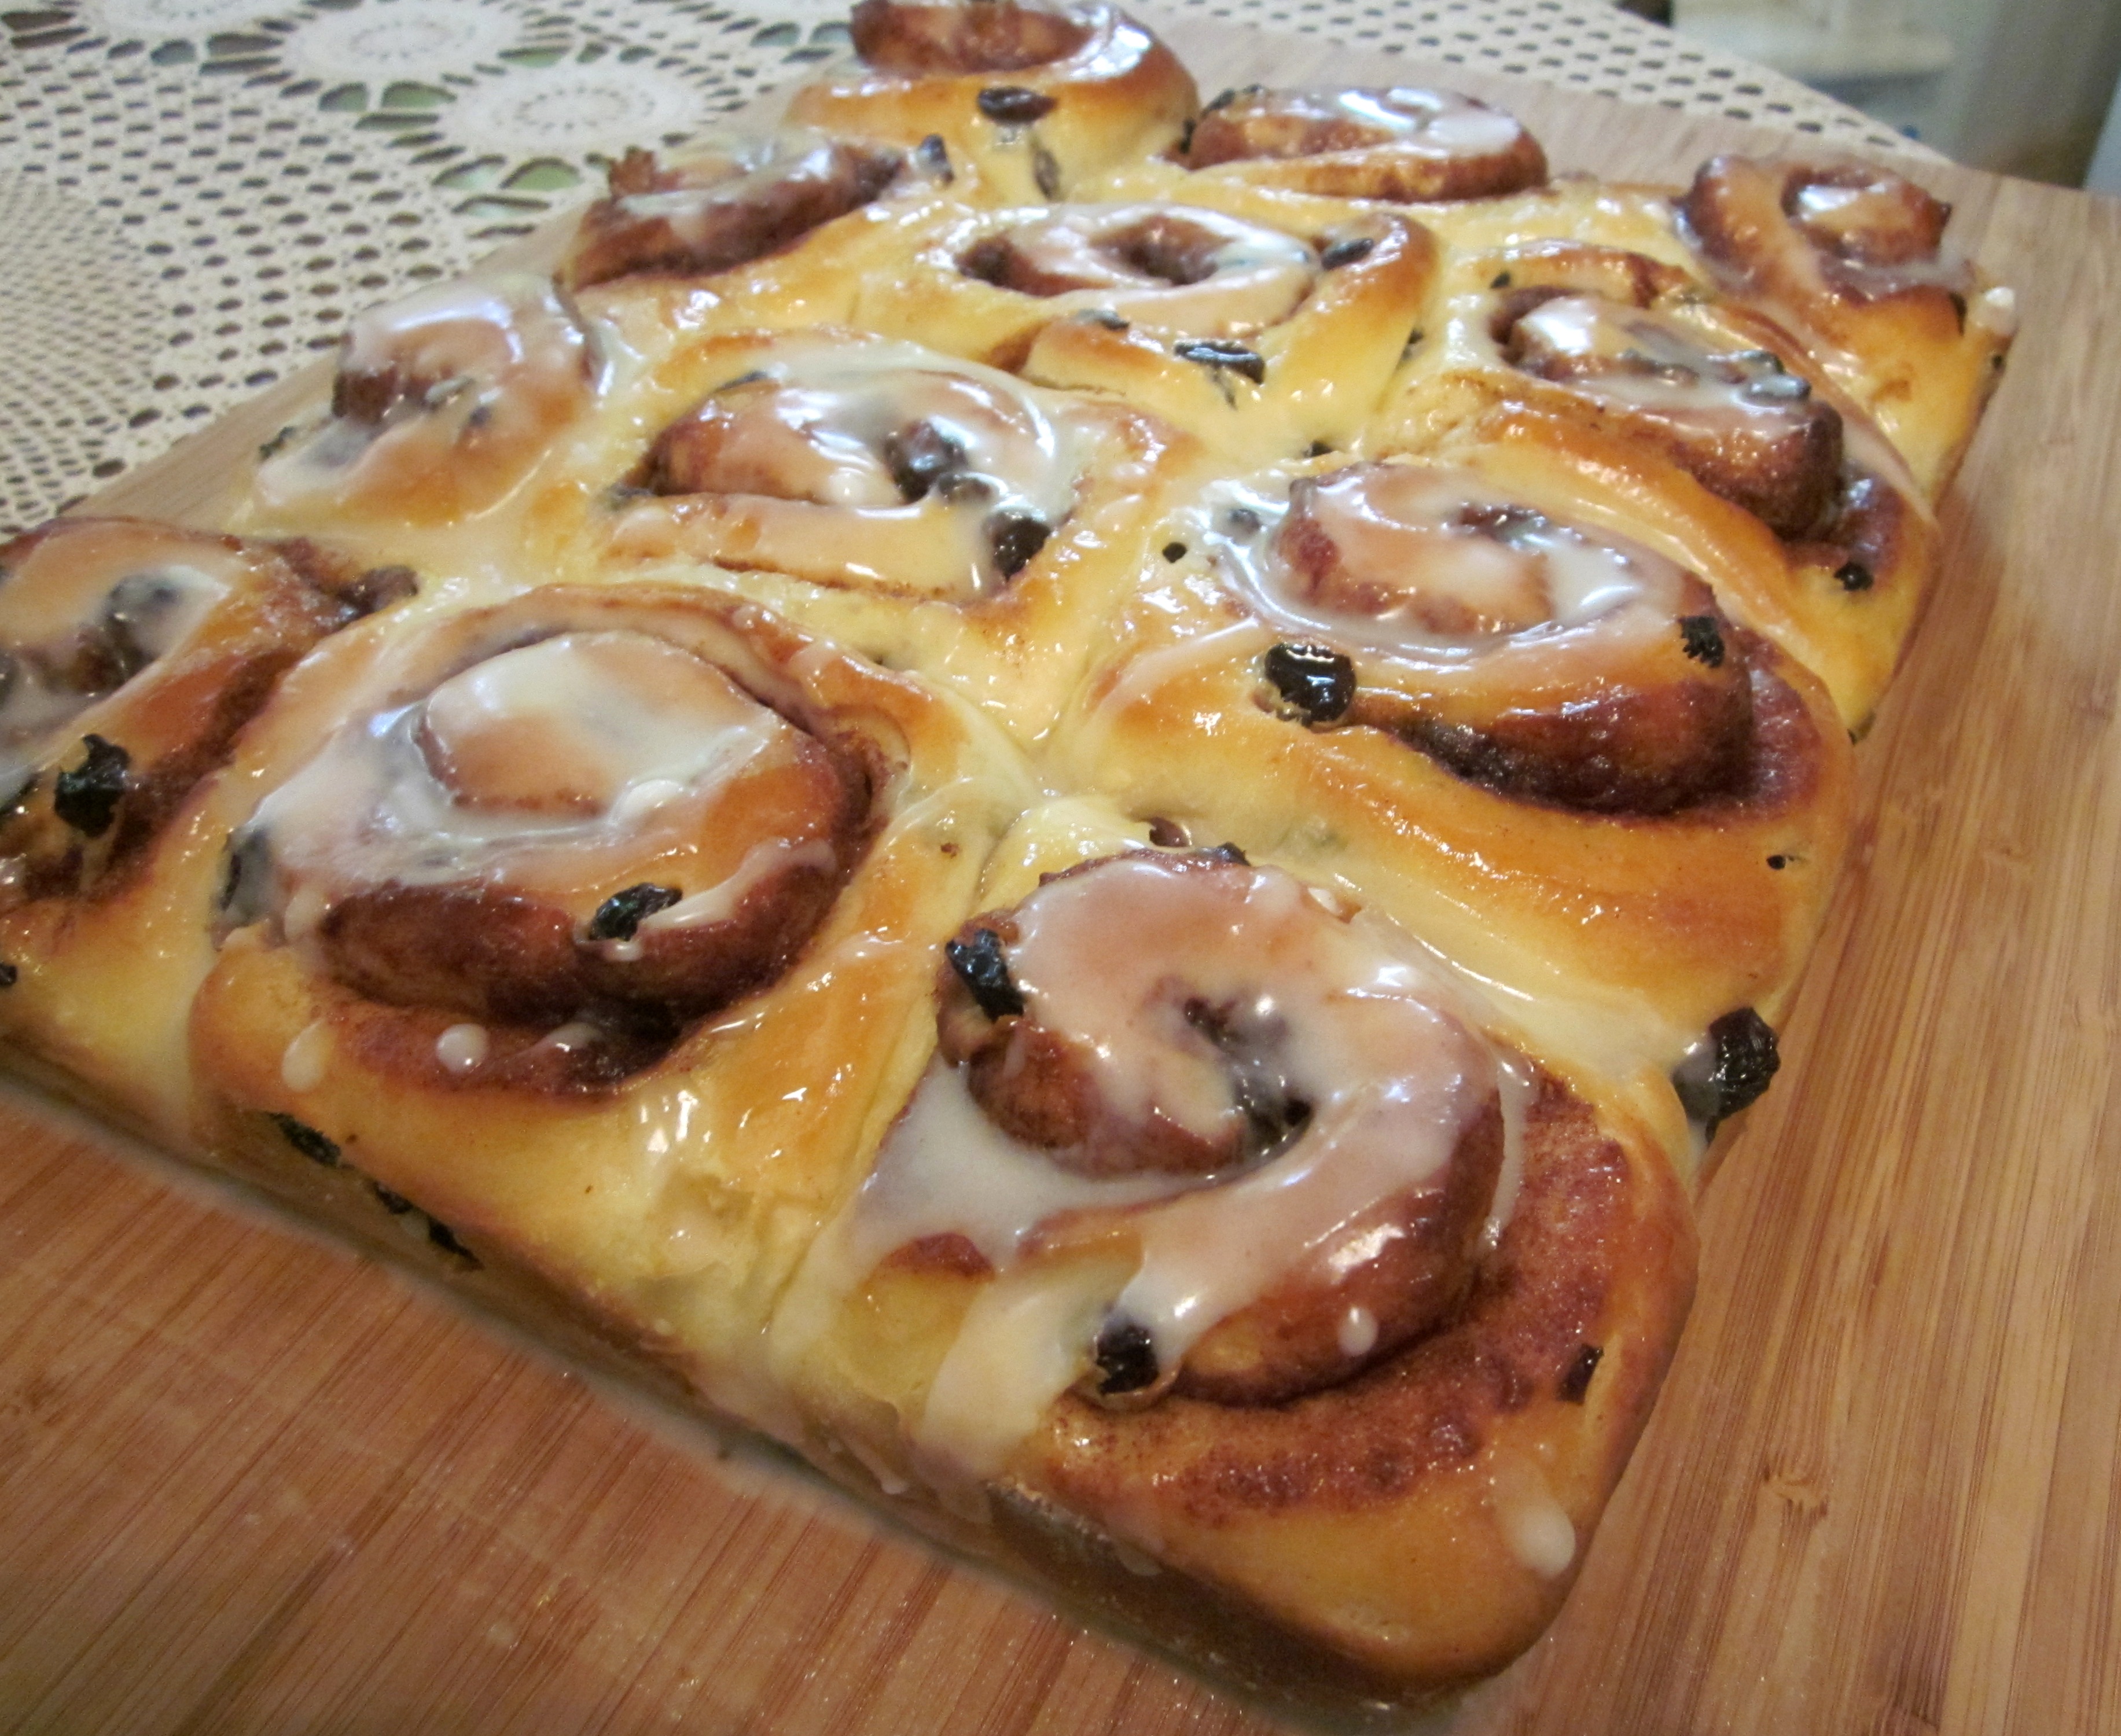
Week 5 of The Great Australian Bake Off (GABO) was bread week, and the technical challenge saw the bakers making Coffee Scrolls.

Now I have to admit, I am not a coffee person. I absolutely love the smell of coffee, but I just can’t bring myself to like the flavour of it. I don’t drink it and I don’t like it in desserts. However, I really like cinnamon scrolls, which is what these really are if you take the coffee out of the icing. So although I am supposed to be replicating the technical challenges, the reality is that I am cooking at home and I am the one who will be trying the finished product, so I decided to omit the coffee. Isn’t that part of the point of cooking/baking things yourself? You can make them the way that you like them.

With the omission of the coffee, these have to be my favourite of all the technical challenges so far. Although a little time consuming with the resting time (which really lets you go off and do other things which is why the weekend is perfect for baking), I found this recipe quite easy.  Plus the house smelt amazing while they were cooking and the finished product was delicious. I was actually jumping up and down when these came out and I tore them apart and saw the texture of the bread. I got impatient and didn’t wait for them to cool down enough before I iced them, hence my already thin icing got even thinner, but I didn’t mind. Any more icing and I think they would have been too sweet. I have to confess that I may have eaten a few too many scrolls over the weekend. I’d better get myself to the gym tomorrow!

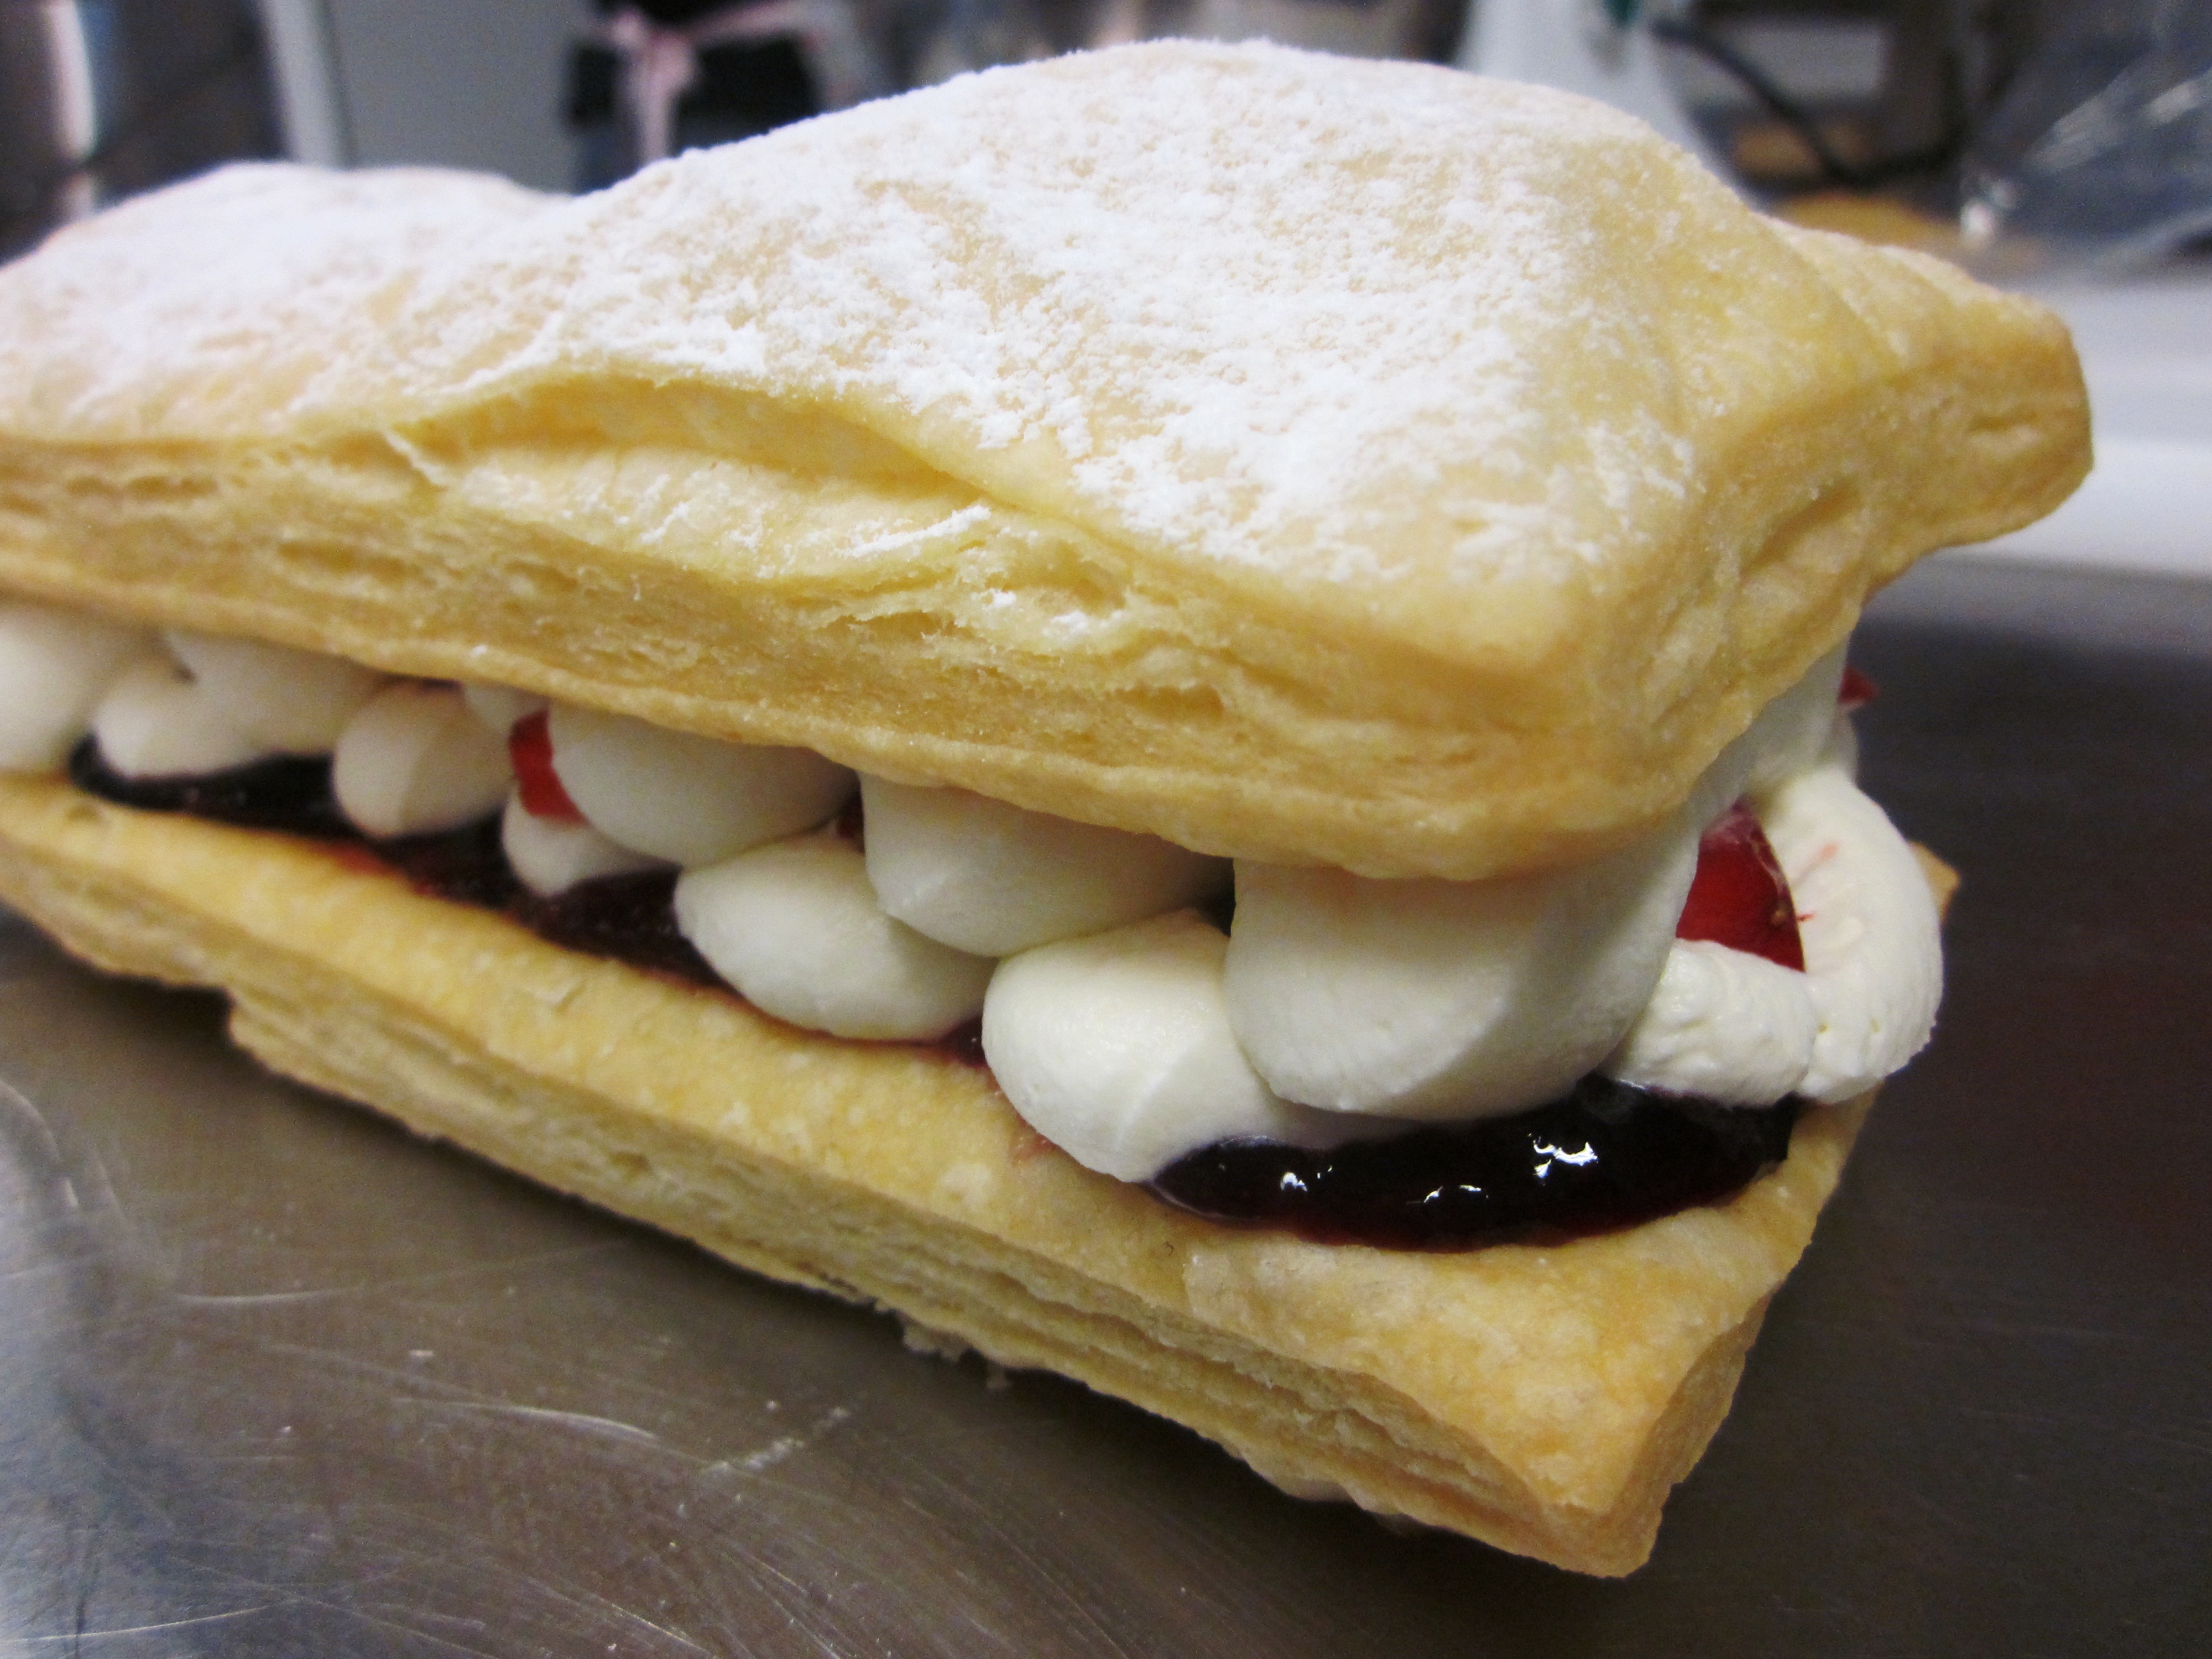
Next up, Layered Pavlova Torte with fondant strawberries.

Click here for the recipe

The Great Australian Bake Off Technical Challenge – Week 4 Quiche with Layered Pastry

Quiche

As I posted last weekend, for some silly reason I decided to try to recreate the Week 3 (Brandy Snaps) and Week 4 (Quiche) GABO technical challenges at the same time. As I’ve said previously, all was going well until I started to get a migraine.

Normally when I make quiche, I use a shortcrust pastry, so I was intrigued with the idea of using rough puff pastry instead. Quiche is a great portable meal, perfect for work lunches or picnics, and great for using up leftovers from the fridge. You don’t have to stick to the fillings in this recipe. I used to make a cheat’s all in one quiche, without making the pastry (you just add pastry mix in with the filling, and it forms a base – I will post it in the future), but in more recent times I have always made it with the short crust pastry, as previously posted here.

The rough puff pastry worked quite well and was a nice change to the shortcrust, but required a lot more effort and I think is more at risk of the dreaded “soggy bottom”. You do have to make it by hand though. This isn’t a pastry you can make in the food processor. I also found mine needed a bit longer cooking time, as the very centre of the pastry was not quite cooked enough.

I had planned to take step by step photos of the pastry making process and folding, unfortunately when I went to use my camera its battery was flat, so there is only the finished photo. Sorry, I’ll try again next time.

On the whole, the fact that I managed to finish a reasonable quiche while fighting a migraine (and without burning or cutting myself) I think was an achievement, although the edges of the pastry were a bit rustic. It still tasted nice and provided a great lunch/dinner on the run before rehearsals. However, I don’t plan on making it with this pastry again if I’m making a large sized quiche. I might try it with canapé sized ones next time though.

Next technical challenge? Coffee scrolls.

Click here for the recipe

The Great Australian Bake Off Technical Challenge – Week 3 Brandy Snaps

First attempt at brandy snaps - more practice needed!
First attempt at brandy snaps – more practice needed!

After a very busy week, for some reason I thought it would be a good idea to try to recreate the Week 3 (Brandy Snaps) and Week 4 (Quiche) GABO technical challenges at the same time. All was actually going well until I started getting a migraine.

I had originally intended to keep making the brandy snaps until I had perfected them, just like the contestants in Week 3 who made multiple batches in their quest to create 12 perfect brandy snaps. Unfortunately with the onset of a migraine, I had to throw in the towel after just one batch and admit defeat – for now. I managed about 6 salvageable brandy snaps from my first batch (although they weren’t the best and looked nothing like the ones in the picture from the original recipe), only to then break one when I was filling it with the cream. However, given how I was feeling at the time, I think the fact that I made any of them is an achievement. I will have to try again when I have more time and am feeling 100%!

I also found that my wooden spoon handles were a bit too narrow to get the best cylinder shape. I’ll have to go hunting for a bigger one before I try these again. Also, although the recipe recommended cooking four at a time, until you have got the hang of making these I would recommend only cooking 2 – 3 at a time. It will take longer, but you will end up throwing away less, so you will save time in the long run.

The brandy snaps are very sweet on their own, although the addition of the cream helps to balance this, with nice caramel and ginger flavours. Next time I will also try making some as little cups like I’ve seen before.

Next up, a couple of savoury recipes after a few weeks of only sweet, including the Week 4 Quiche challenge.

Click here for the recipe

The Great Australian Bake Off Technical Challenge – Week 2 Lemon Meringue Pie

Lemon meringue pie

Finding the time to cook, bake and blog is difficult at the moment, as besides work I’ve also started rehearsals three times a week for a local musical which will be on in a few months. So things are busy at the moment, but it is a good busy and I’m so happy to be singing and rehearsing for a show again, after over a year off the stage.

I did however find time to give the Week 2 Great Australian Bake Off technical challenge a go. Lemon Meringue Pie is one of my favourites, but also one of the desserts I am often most disappointed in when I buy them at restaurants or bakeries as I usually find them too sweet with not enough of the tart lemon flavour, so I was interested to give this recipe a try.

I have to admit that in my rush, I didn’t read the recipe correctly and started making the curd filling in a completely different way to the suggested method. However, it still worked and the end result was a set curd filling. So the method here is what I did, not what was recommended in the original recipe (which you can find here). I also had to add extra lemon zest to increase the citrus flavour and even then the filling was a bit too sweet for me.

I managed to complete the dessert in less than 2 hours (which I think is the time the contestants had). If you have more time, I would suggest letting the pastry chill longer before baking in the oven, as I found it shrank back a lot with only a 5 minute resting time.

I’m looking forward to the next technical challenge – brandy snaps. I’ve always meant to give them a try but have just never gotten around to it.

Click here for the recipe

The Great Australian Bake Off Technical Challenge – Week 1 Chocolate and Orange Checkerboard Cake

checkerboard cake

After months of waiting The Great Australian Bake Off (GABO) has finally made it to our screens and in celebration I have decided to attempt each week’s technical challenge to see how I go. For those of you not familiar with the format, each week contestants on the show have to bake in three separate challenges:

  1. The signature bake (their own tried and tested recipe)
  2. The technical challenge where all contestants are given the same recipe (with limited detail) and ingredients
  3. And finally the show stopper, where each week they are asked to create something creative with wow factor. 

One of the things I love about this show is that for two of the challenges, the contestants get to work off their own recipe which they know and have been able to practise. It is so important in baking to get the measurements/ratios right that it has always amazed me that people in other reality TV cooking shows can bake all manner of things from memory. I know that, even though I’ll often change things and add my own flair, in baking I still always start by looking at the recipe!

The technical challenge for week one was a chocolate and orange checkerboard cake and I just had to make it for my Dad’s birthday. The cake recipes themselves seemed quite easy, however my first hurdle was that I didn’t have the right sized tins (four 18 cm tins were required for this recipe). I managed to find one tin in a little homewares store down the road; however this meant that I had to cook four cakes separately rather than all at once. There was certainly no way I was going to be able to make this in the two hours the contestants had!

If you have the time, I would suggest making the cakes the day (or at least the morning) before you want to assemble them to allow them time to cool in the fridge (or freezer). They are much easier to cut and assemble cold (the first cake I made was a lot easier than the last, which was still slightly warm). I only made three rather than four levels as I had to transport it the next day (although you still need to make four cakes to get the desired pattern). And I also felt that the three levels was more than enough. This cake certainly has wow factor when you cut into it. I have to admit I was very excited when my Dad sliced the first piece and we could all see the checkerboard pattern inside!

I have to confess that, at the request of my Mum, I used my usual ganache recipe rather than the GABO recipe.  . I also found I needed to use extra orange zest to get the level of flavour I was wanting. It is quite a rich cake and I would definitely recommend serving it with cream or icecream. But on the whole I have to say that my first technical challenge was a great success.  On to the week 2 challenge!

Click here for the recipe

Pastry making class week 5 – Mille Feuille with Rough puff pastry

 Mille Feuille

Of all the types of pastry we learnt during the 6 classes I attended, this is the one that I enrolled for and really wanted to do. I was supposed to attend a Mille Feuille class with Sarah at babyCakes last year, but unfortunately it was cancelled due to lack of interest. So I was thrilled when Sarah told me about the 6 week pastry class at TuartCollege, which included a class on Mille Feuille using rough puff pastry.

I’ve really enjoyed this 6 week course and have found my confidence with pastry has really grown. I can’t wait to give full blown puff pastry a try when I have time at home. But in the meantime, it’s great to now have this quicker rough puff pastry up my sleeve. It tastes great, with the flaky layers, rise and crispness you expect from puff pastry, but in a lot less time. Yum.

Next time I make it at home, I will take step by step photos of the folding and update the post. But for now at least, here is the recipe.

Click here for the recipe