Cooking Class – Café Style Cakes

Steamed Cheesecake 2I’m back! Sorry for the prolonged absence, but I do have a good reason, I promise! I am pregnant with my first child which is just wonderful. Unfortunately along with the pregnancy came severe “morning sickness”. I have to say that whoever named it “morning sickness” is just cruel, as for me it was months of 24 hour sickness where I struggled to eat anything, let alone cook, think or write about food.

Although not completely gone, I am feeling a lot better and am able to finally cook and think about food again, so it’s time to get back to blogging, starting with the last cooking class I went to.

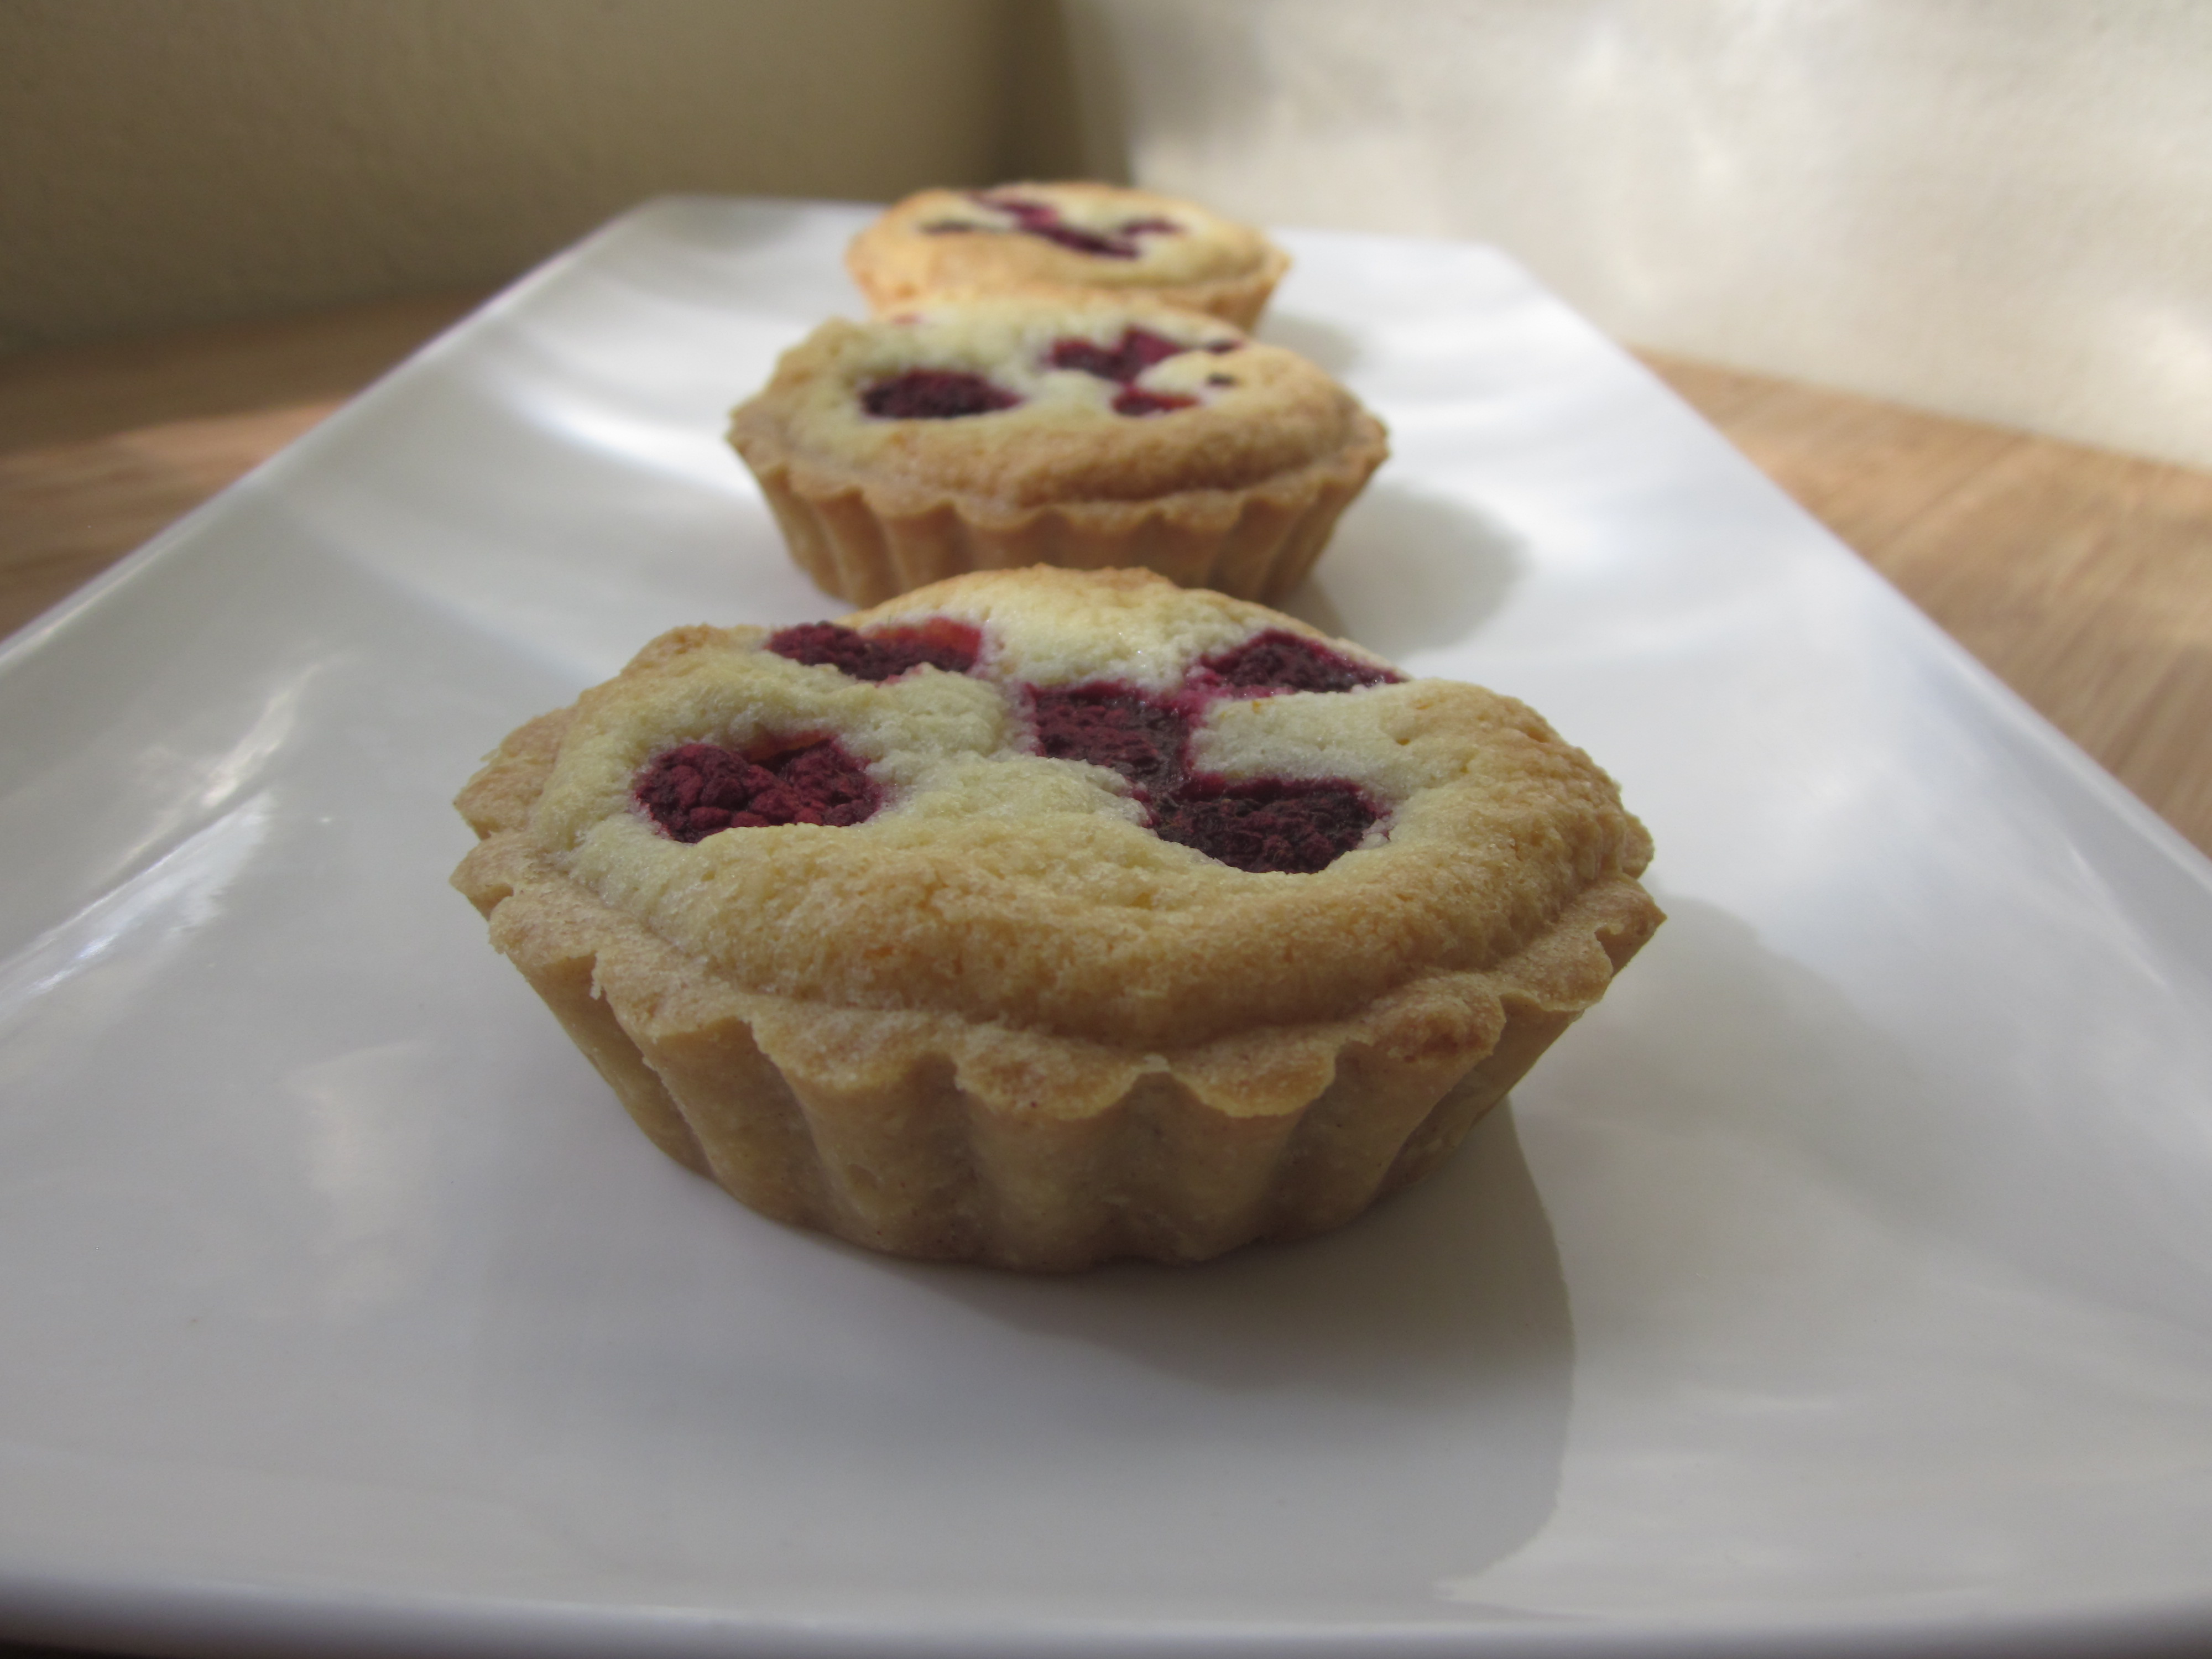
In November last year, I attended the Café Style Cakes cooking class at Sweet Artist Academy that I had booked before I was pregnant. I had organised the timing of the class so that I could then take the cakes in to work for morning tea for my birthday. Seeing as I was in the early stages of my pregnancy and trying not to tell anyone, and everyone in my team knew I had booked the class to provide for my birthday morning tea, I still went to the class. I have to say it was a struggle, but Patrick was a great help when the smell and nausea got too much for me (I told a little white lie and said I had eaten something the night before that made me feel sick). I did do most of the cooking and decorating myself, however Patrick helped me cover the mud cake with ganache as well as get the cakes out of their tins etc. Thank you Patrick!  Click here to read more

Sugar Pulling (Level 1) class at Sweet Artist Academy

Sugar rose

When life gets busy, I usually fall back on my old favourite recipes. As a result, I haven’t tried any new recipes at home recently. I will have to make sure I rectify that soon as I enjoy trying new recipes.

In the meantime though, I did take a day off work to attend a sugar pulling (level 1) class at Sweet Artist Academy. Sugar work like this isn’t something most of us get a chance to see very often, let alone try. But I have been intrigued by the idea of giving it a try ever since I discovered Sweet Artist Academy early this year. After three baking/patisserie classes I decided to give it a go. I have to admit that although I was looking forward to the class, I was a bit worried that I might not be able to do it. It is very technical, however all three of us in the class were able to make some amazing centrepieces. And we were all home bakers, not a professional amongst us (besides our excellent teacher Patrick that is)! You do need some specialised equipment for this (such as the heat lamps), so it isn’t something I can currently try at home. But I’m really glad I gave it a go and some components at least I will try again to decorate cakes/desserts. It is hot work though between the heat lamp and the very warm sugar and, even with gloves,  my fingers did get a bit red.

set up for the day

In this class, working with isomalt (which is a bit more forgiving than regular sugar), we learnt how to prepare the isomalt for sugar work by adding some water and bringing it up to the required temperature. This was then split into several batches, with some poured straight into heart moulds and coloured, and the rest divided for use straight away (which we coloured pink/red) or later on (coloured green, red and left as it was for white). Click here to read more

More cooking classes at Sweet Artist Academy – Small Cakes 2 and Assorted Pastries

croissants and briochedanishes boxIndividual cakes 2

After such a successful and enjoyable first class with Patrick Vuaillat at Sweet Artist Academy in June I couldn’t resist enrolling in a couple more classes once my musical had finished (to read more about my first class and some background on the Academy, click here).

First up was Individual Cakes – 2. My first class at Sweet Artist Academy was the individual cakes class, however Patrick has since introduced new recipes in the class (the summer range) and after seeing photos of the new cakes, I was hooked. There was no repetition of what we were taught in the first class, everything was new and I learnt a lot of new recipes/techniques.

The individual cakes class is the most technical cooking class Patrick runs. You make a number of separate components for the cakes in the morning, and then finish the components and assemble the cakes in the afternoon. Although a technical class, it is achievable for home bakers (we had one complete beginner in our class). Patrick provides great support and help throughout; making sure everyone has completed each step before moving onto the next one. The cakes you go home with at the end of the day are amazing. I was certainly ready for a nap by the time I got home though!  Click here for more

Individual Small Cakes Class – Sweet Artist Academy

Individual cakes class

I am very glad that it is a long weekend here in Western Australia. Some weekends are just so full of activities that I often feel like I need an extra day to just be at home, do all the chores around the house and recover from my weekend. This weekend has certainly been like that, although it has been very enjoyable.

In addition to a rehearsal on Sunday for a local musical I will be playing a lead role in that will be on in July, on Saturday I attended an all day class at the Sweet Artist Academy – Patisserie Training Centre in Joondalup Western Australia. It was my first time at Sweet Artist Academy, and I will certainly be going back again.

The Sweet Artist Academy is run by Patrick Vuaillat with a number of one day courses available on weekdays or weekends including chocolate work, sugar work, pastries, cakes, bread, cake decorating, macarons and even more. Patrick, originally from France and with over 35 years in the pastry industry, started an apprenticeship in pastry at the age of 15 and has worked as a pastry chef all over the world before falling in love with Perth and starting his on patisserie which he ran for 16 years before setting up the Sweet Artist Academy. Loving baking and patisserie as I do, I was thrilled to find someone with so much experience offering classes in Perth and was really looking forward to my class. Click here for more

Christmas baking – Gingerbread houses and biscuits

 Gingerbread house

Last year at Christmas I went a bit overboard with my Christmas baking for my work colleagues (for a Christmas morning tea and food gifts), baking over two (very long) nights:

The late night baking sessions were a bit much, as was the burn that was the result of my tired clumsiness (I still have the scar), so I promised myself I would do less this year.

That lasted right up until we were asked to do a morning tea display challenge for our Christmas morning tea at work. As part of my team’s display, and given I had just learnt how to make them in my baking classes, I offered to make gingerbread houses. Not one house though, oh no, I said I’d make multiple houses (I made 6 in total). I also made gingerbread biscuits as well (about 50 individual biscuit houses, cars and trains).

cars and trains

sorry for the angle of the photo!
sorry for the angle of the photos!

This gingerbread recipe from Sarah Brigden (babyCakes) is great and I would certainly recommend it. It can be made up to a week in advance before baking (just wrap it well in cling wrap and store in the fridge) or it can be frozen (very well wrapped in cling film and them placed inside a glad bag). Once cooked, it should last for a month. It has quite a lot of spice in it, however if you prefer you gingerbread lighter on the spice, you can easily reduce the amount. The gingerbread house is stuck together using melted chocolate. This is fine on a cool day/night. However the weekend I was assembling these, the temperature hit above 40C, which was not ideal for chocolate work. Add to that a migraine when I was trying to decorate, and it wasn’t a very enjoyable weekend of baking.

The end result was worth it though, even with my migraine impaired/minimal decorating. These were WA Christmas houses, so no snow covered gingerbread houses in sight! Everyone who tried the gingerbread loved the taste. Once the morning tea was over, I wrapped up the houses and some biscuits in cellophane and gave them to my team to take home. They make a great Christmas gift idea.

Christmas gift idea
Christmas gift idea

In class, we made an A frame house, as this is easier to assemble for a first time attempt. To make it, you will need to make a template rectangle of 150mm x 105mm (you will need to cut three pieces for each house – two sides and a base) and a triangle of 115mm x 115mm x 115mm (you will need two pieces for each house – front and back).

Basic A-Frame House
Basic A-Frame House

For the smaller (and more detailed) houses, I used a template I found online here. For some I made the roof template slightly longer so I could assemble them differently so that the join didn’t show at the front. To do this I baked the roof pieces separately after I had assembled the base of the houses and determined how long I needed to make the roof. However, if you assemble them so you can see the joins at the front, you don’t need to do this. 

Click here for the recipe

Christmas Baking Class Week 1 (Part 2) – Cinnamon Pastry and Frangipane Tarts (with Raspberry)

Frangipane and raspberry tarts

I have previously posted about the  5 week Christmas baking course I am taking with Sarah Brigden (babyCakes) through Tuart College, where in the first class we made fruit mince (see post here). We then used the fruit mince to make fruit mince tarts with a frangipane (almond cream) filling/topping.

My fruit mince is still developing its flavour in the fridge, so I decided to make these tarts but with raspberries instead, as I always have some  in my freezer. The results were delicious and very popular both at home and at work. Mum has already asked for these for our family Christmas lunch.

The cinnamon pastry brings a nice added flavour to the tart, however you could leave it out or replace it with citrus zest, ground ginger, mixed spices –  it is up to you.

This pastry will keep in the fridge for 5 days before cooking or up to 3 months in the freezer (wrapped in cling wrap and placed in a sealed container or bag), while the frangipane will keep for a week in the fridge. To make these tarts with fruit mince, you can add it either before the frangipane or on top. Don’t overfill the tart cases, as the frangipane does rise a bit when it bakes.

Click here for the recipe