The Great Australian Bake Off Technical Challenge – Week 3 Brandy Snaps

First attempt at brandy snaps - more practice needed!
First attempt at brandy snaps – more practice needed!

After a very busy week, for some reason I thought it would be a good idea to try to recreate the Week 3 (Brandy Snaps) and Week 4 (Quiche) GABO technical challenges at the same time. All was actually going well until I started getting a migraine.

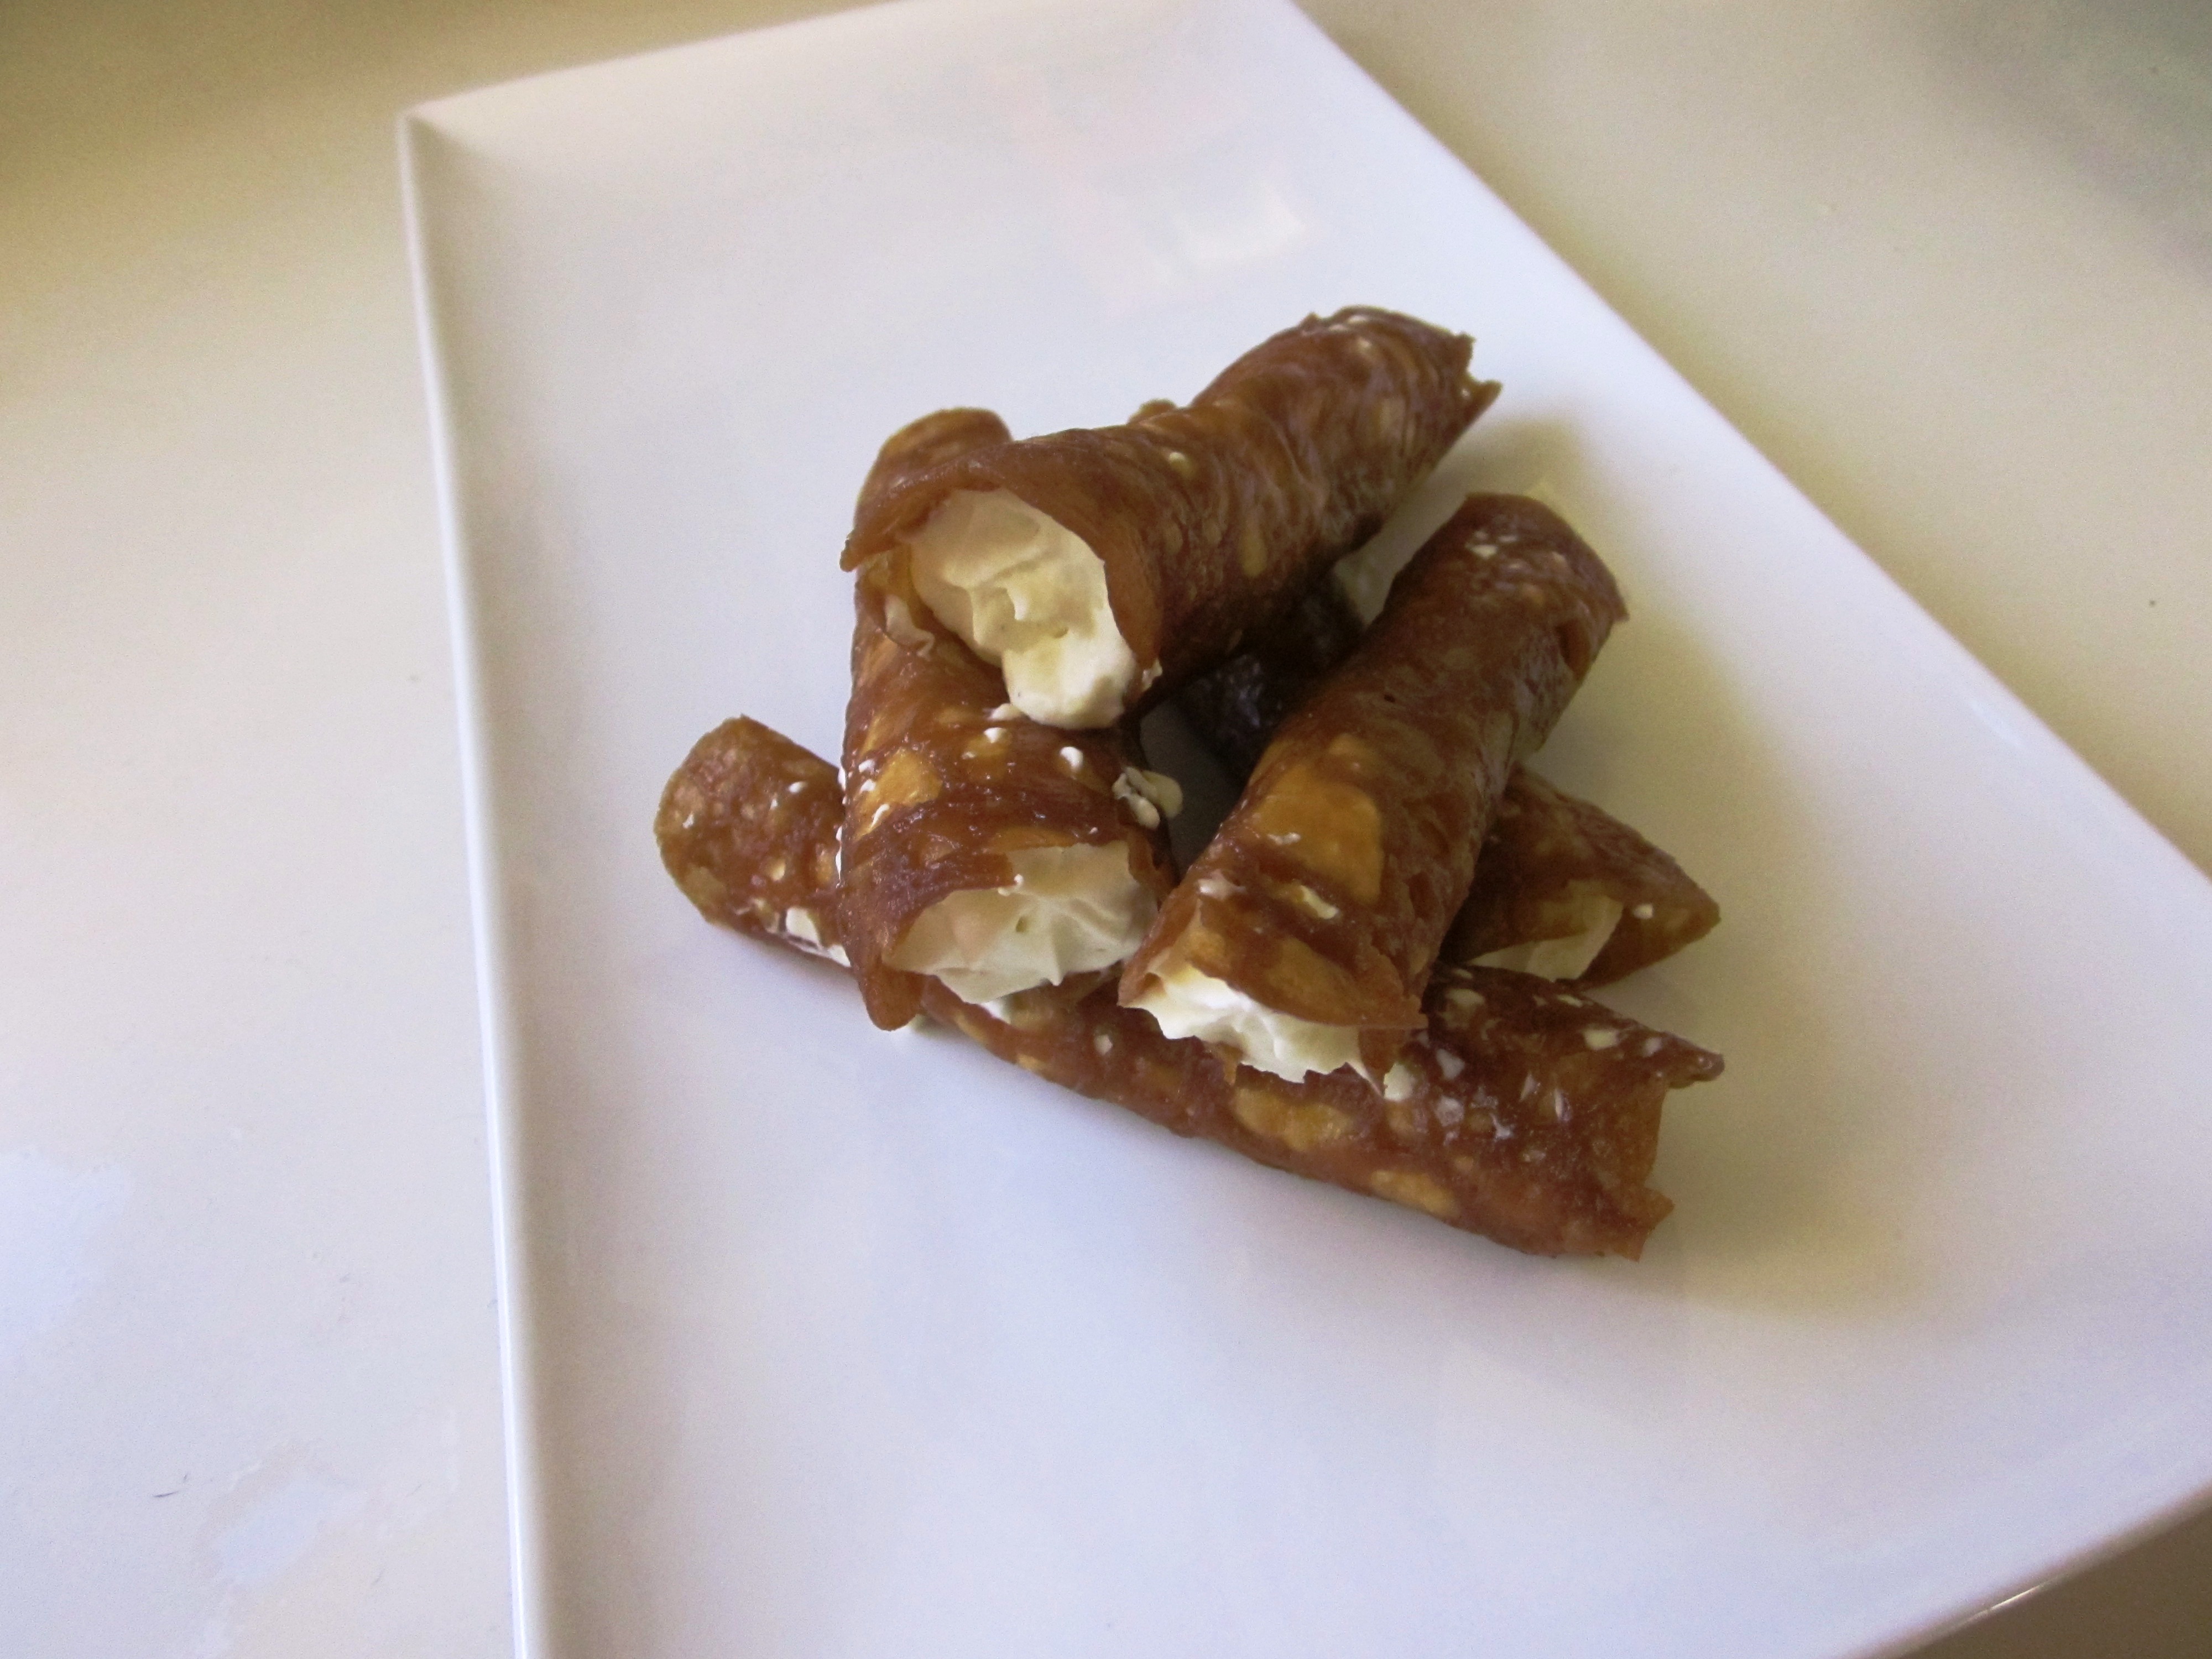
I had originally intended to keep making the brandy snaps until I had perfected them, just like the contestants in Week 3 who made multiple batches in their quest to create 12 perfect brandy snaps. Unfortunately with the onset of a migraine, I had to throw in the towel after just one batch and admit defeat – for now. I managed about 6 salvageable brandy snaps from my first batch (although they weren’t the best and looked nothing like the ones in the picture from the original recipe), only to then break one when I was filling it with the cream. However, given how I was feeling at the time, I think the fact that I made any of them is an achievement. I will have to try again when I have more time and am feeling 100%!

I also found that my wooden spoon handles were a bit too narrow to get the best cylinder shape. I’ll have to go hunting for a bigger one before I try these again. Also, although the recipe recommended cooking four at a time, until you have got the hang of making these I would recommend only cooking 2 – 3 at a time. It will take longer, but you will end up throwing away less, so you will save time in the long run.

The brandy snaps are very sweet on their own, although the addition of the cream helps to balance this, with nice caramel and ginger flavours. Next time I will also try making some as little cups like I’ve seen before.

Next up, a couple of savoury recipes after a few weeks of only sweet, including the Week 4 Quiche challenge.

Click here for the recipe

The Great Australian Bake Off Technical Challenge – Week 2 Lemon Meringue Pie

Lemon meringue pie

Finding the time to cook, bake and blog is difficult at the moment, as besides work I’ve also started rehearsals three times a week for a local musical which will be on in a few months. So things are busy at the moment, but it is a good busy and I’m so happy to be singing and rehearsing for a show again, after over a year off the stage.

I did however find time to give the Week 2 Great Australian Bake Off technical challenge a go. Lemon Meringue Pie is one of my favourites, but also one of the desserts I am often most disappointed in when I buy them at restaurants or bakeries as I usually find them too sweet with not enough of the tart lemon flavour, so I was interested to give this recipe a try.

I have to admit that in my rush, I didn’t read the recipe correctly and started making the curd filling in a completely different way to the suggested method. However, it still worked and the end result was a set curd filling. So the method here is what I did, not what was recommended in the original recipe (which you can find here). I also had to add extra lemon zest to increase the citrus flavour and even then the filling was a bit too sweet for me.

I managed to complete the dessert in less than 2 hours (which I think is the time the contestants had). If you have more time, I would suggest letting the pastry chill longer before baking in the oven, as I found it shrank back a lot with only a 5 minute resting time.

I’m looking forward to the next technical challenge – brandy snaps. I’ve always meant to give them a try but have just never gotten around to it.

Click here for the recipe

The Great Australian Bake Off Technical Challenge – Week 1 Chocolate and Orange Checkerboard Cake

checkerboard cake

After months of waiting The Great Australian Bake Off (GABO) has finally made it to our screens and in celebration I have decided to attempt each week’s technical challenge to see how I go. For those of you not familiar with the format, each week contestants on the show have to bake in three separate challenges:

  1. The signature bake (their own tried and tested recipe)
  2. The technical challenge where all contestants are given the same recipe (with limited detail) and ingredients
  3. And finally the show stopper, where each week they are asked to create something creative with wow factor. 

One of the things I love about this show is that for two of the challenges, the contestants get to work off their own recipe which they know and have been able to practise. It is so important in baking to get the measurements/ratios right that it has always amazed me that people in other reality TV cooking shows can bake all manner of things from memory. I know that, even though I’ll often change things and add my own flair, in baking I still always start by looking at the recipe!

The technical challenge for week one was a chocolate and orange checkerboard cake and I just had to make it for my Dad’s birthday. The cake recipes themselves seemed quite easy, however my first hurdle was that I didn’t have the right sized tins (four 18 cm tins were required for this recipe). I managed to find one tin in a little homewares store down the road; however this meant that I had to cook four cakes separately rather than all at once. There was certainly no way I was going to be able to make this in the two hours the contestants had!

If you have the time, I would suggest making the cakes the day (or at least the morning) before you want to assemble them to allow them time to cool in the fridge (or freezer). They are much easier to cut and assemble cold (the first cake I made was a lot easier than the last, which was still slightly warm). I only made three rather than four levels as I had to transport it the next day (although you still need to make four cakes to get the desired pattern). And I also felt that the three levels was more than enough. This cake certainly has wow factor when you cut into it. I have to admit I was very excited when my Dad sliced the first piece and we could all see the checkerboard pattern inside!

I have to confess that, at the request of my Mum, I used my usual ganache recipe rather than the GABO recipe.  . I also found I needed to use extra orange zest to get the level of flavour I was wanting. It is quite a rich cake and I would definitely recommend serving it with cream or icecream. But on the whole I have to say that my first technical challenge was a great success.  On to the week 2 challenge!

Click here for the recipe

Pastry making class week 5 – Mille Feuille with Rough puff pastry

 Mille Feuille

Of all the types of pastry we learnt during the 6 classes I attended, this is the one that I enrolled for and really wanted to do. I was supposed to attend a Mille Feuille class with Sarah at babyCakes last year, but unfortunately it was cancelled due to lack of interest. So I was thrilled when Sarah told me about the 6 week pastry class at TuartCollege, which included a class on Mille Feuille using rough puff pastry.

I’ve really enjoyed this 6 week course and have found my confidence with pastry has really grown. I can’t wait to give full blown puff pastry a try when I have time at home. But in the meantime, it’s great to now have this quicker rough puff pastry up my sleeve. It tastes great, with the flaky layers, rise and crispness you expect from puff pastry, but in a lot less time. Yum.

Next time I make it at home, I will take step by step photos of the folding and update the post. But for now at least, here is the recipe.

Click here for the recipe

Lemon curd (lemon butter)

Lemon curd

If you have read any of my past posts, you will know that I love anything citrus based. Tart desserts are my favourite and I will always go for a citrus or berry dessert, rather than chocolate. I think my love of all things tart must come from my Nanna. I remember hearing tales of how, when she was a young girl,  she would get sent to the shop with the vinegar bottle to fill it up, and by the time she was home it was half empty because she had been drinking it on the way home!

So it will come as no surprise that lemon curd (or lemon butter) is a favourite of mine. Unfortunately, I find almost all of the lemon curd you can buy in shops tastes overly sweet and artificial, and doesn’t have that lovely tartness that I expect in lemon curd. So it is something that I much prefer to make myself. And with this recipe, it is easy to make at home.

I discovered this recipe a few years back when making Gary Mehigan’s Lemon Curd Mousse with Gingernut Crumble (a great dessert that I will have to make and post soon). This lemon curd  is actually made in the microwave (although you could do it in a bowl over a pan of simmering water if you prefer, however you need to stir it constantly if you cook it this way). It is a much quicker and easier than other recipes I have tried, and doesn’t need the constant stirring of the usual method. The end result is the best lemon curd I have ever made, beautifully tart with a wonderful creamy, glossy texture. The other thing I like about this recipe is that it specifies the volume of lemon juice you need. The amount of juice in lemons can vary so much, that I prefer having the volume specified in a recipe such as this where you are relying on the lemon as your main flavour. When I have tried other recipes, I  found I had to keep adding more, trying as I went, to get the right tart lemon flavour (not something I encourage you to do with raw eggs!). This recipe removes the trial and error  and I get the same result each time I make it.

Of course, if you prefer your lemon curd a bit sweeter, just add more sugar. That is the joy of making your own, you can make it just the way you like it.

Lemon curd

Click here for the recipe

Pastry making class weeks 3 & 4 – Rhubarb and raspberry lattice tart

Rhubarb berry lattice

Week 3 of the 6 week pastry making class I have been attending was all about chocolate pastry. We learnt how to make a chocolate pastry which was cooked and then filled with ganache. The pastry was the same recipe as the sweet pastry we learnt in week two, but with the addition of 40g cocoa in place of some of the flour.

I haven’t made these again since the class as it is just too much chocolate for me (I know, I’m strange). However the recipe for the sweet pastry (including the note on how to make it chocolate) is here and I have previously posted a recipe for chocolate ganache here.

Sorry about the photo

Last week we made apple and berry lattice tarts which was something I was really looking forward to (I love anything with berries in it). This tart uses a very short pastry that is equal parts flour to butter. It can be used for either sweet or savoury baking and for this tart the filling and pastry are cooked at the same time. The basic filling recipe can be adapted with many different combinations of fruits, with our teacher Sarah Brigden (from babyCakes) recommending rhubarb and raspberry . I didn’t  really eat rhubarb growing up (my Dad doesn’t like it). However it is now one of my favourite fruits to use in desserts (along with citrus and berries) due to its tartness. So I had to give it a try.

The rhubarb filling is wetter when it cooks than the apple filling, so it seems to take a bit longer to cook the pastry as a result. The end result though is delicious. The tart, tangy sweetness of the rhubarb and raspberry contrast the rich buttery pastry perfectly. I would definitely recommend giving this one a go. The pastry is a bit trickier to work with than the other sweet pastry we learnt in week 2, so I wouldn’t recommend it for a first attempt at pastry. But if you give it a little time to rest in the fridge, and return it to the fridge when it gets too warm, it is easier to work with.

I have found that with practicing at home outside of class, I am getting a lot better and quicker at handling pastry. Also, with all the classes I have attended over the last year, I have found that if I try and replicate the recipes fairly soon after attending the class, I remember the specific techniques and tricks a lot better.

Click here for the recipe