
Last year at Christmas I went a bit overboard with my Christmas baking for my work colleagues (for a Christmas morning tea and food gifts), baking over two (very long) nights:
- A white chocolate yule log;
- Gingerbread biscuits, decorations and tree;
- Death by chocolate cupcakes that I turned into Santa hats with the addition of the yule log frosting and strawberries;
- Rum balls; and
- Chocolate and almond fudge.
The late night baking sessions were a bit much, as was the burn that was the result of my tired clumsiness (I still have the scar), so I promised myself I would do less this year.
That lasted right up until we were asked to do a morning tea display challenge for our Christmas morning tea at work. As part of my team’s display, and given I had just learnt how to make them in my baking classes, I offered to make gingerbread houses. Not one house though, oh no, I said I’d make multiple houses (I made 6 in total). I also made gingerbread biscuits as well (about 50 individual biscuit houses, cars and trains).


This gingerbread recipe from Sarah Brigden (babyCakes) is great and I would certainly recommend it. It can be made up to a week in advance before baking (just wrap it well in cling wrap and store in the fridge) or it can be frozen (very well wrapped in cling film and them placed inside a glad bag). Once cooked, it should last for a month. It has quite a lot of spice in it, however if you prefer you gingerbread lighter on the spice, you can easily reduce the amount. The gingerbread house is stuck together using melted chocolate. This is fine on a cool day/night. However the weekend I was assembling these, the temperature hit above 40C, which was not ideal for chocolate work. Add to that a migraine when I was trying to decorate, and it wasn’t a very enjoyable weekend of baking.
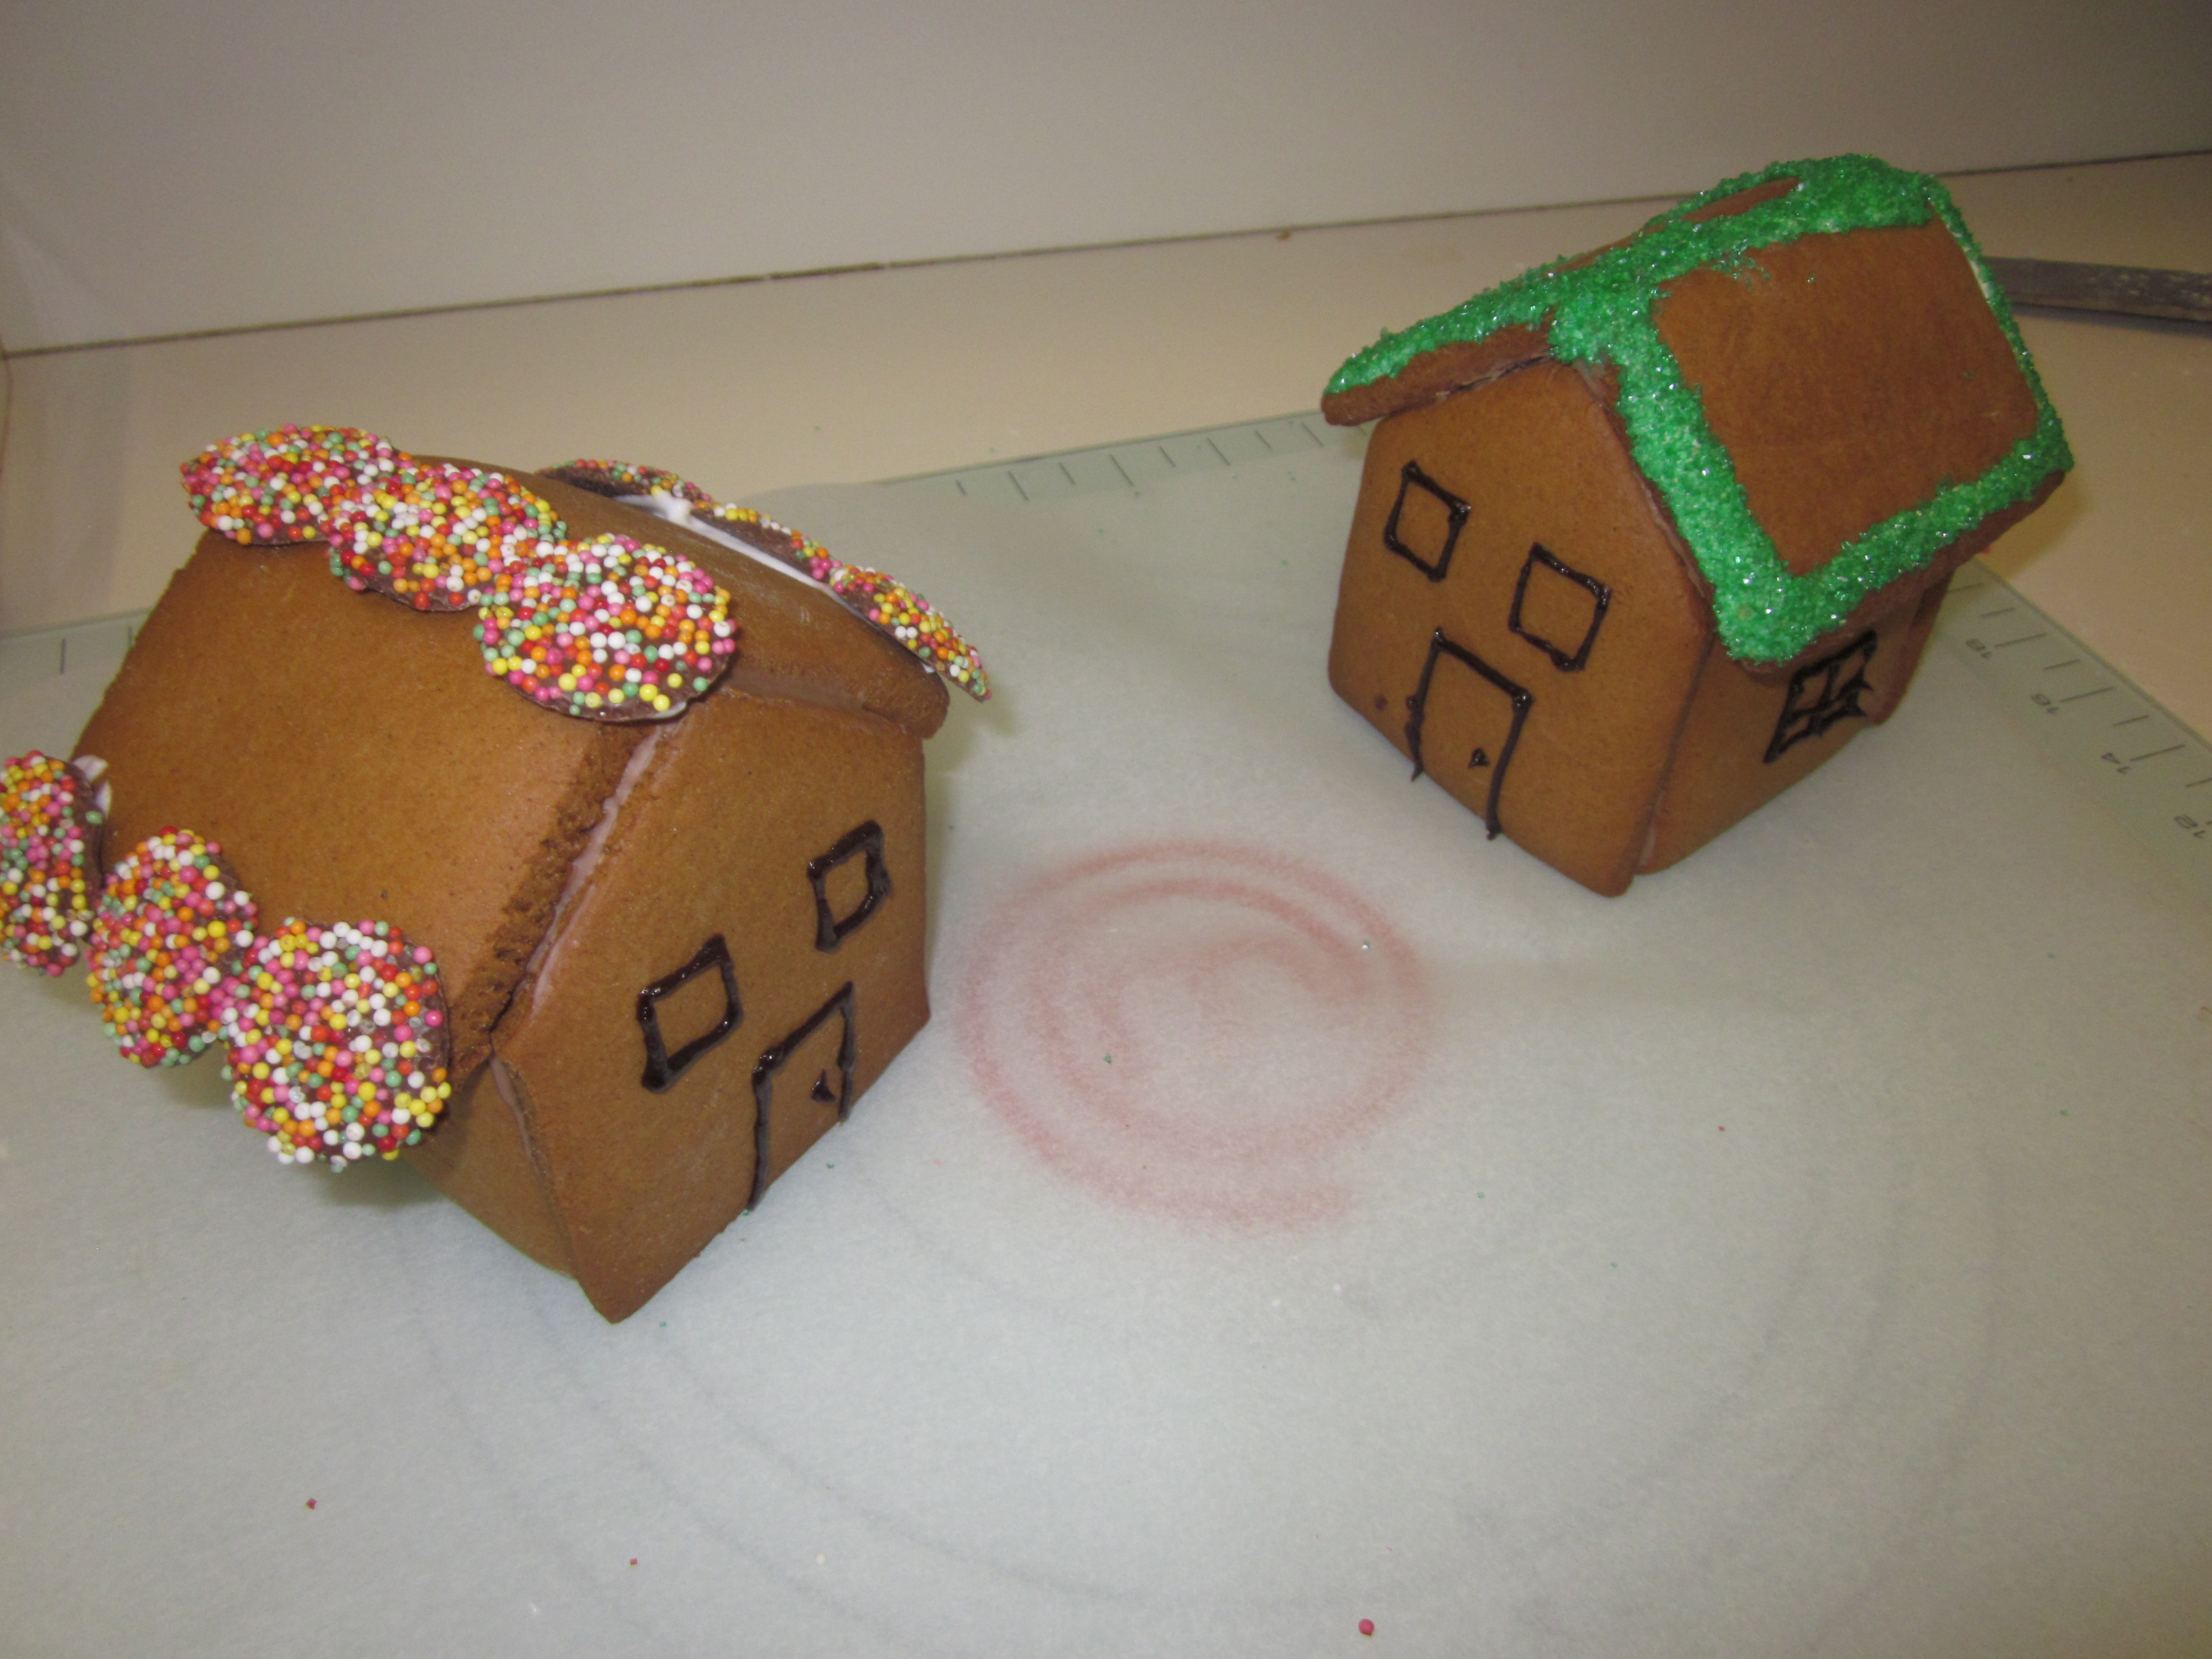
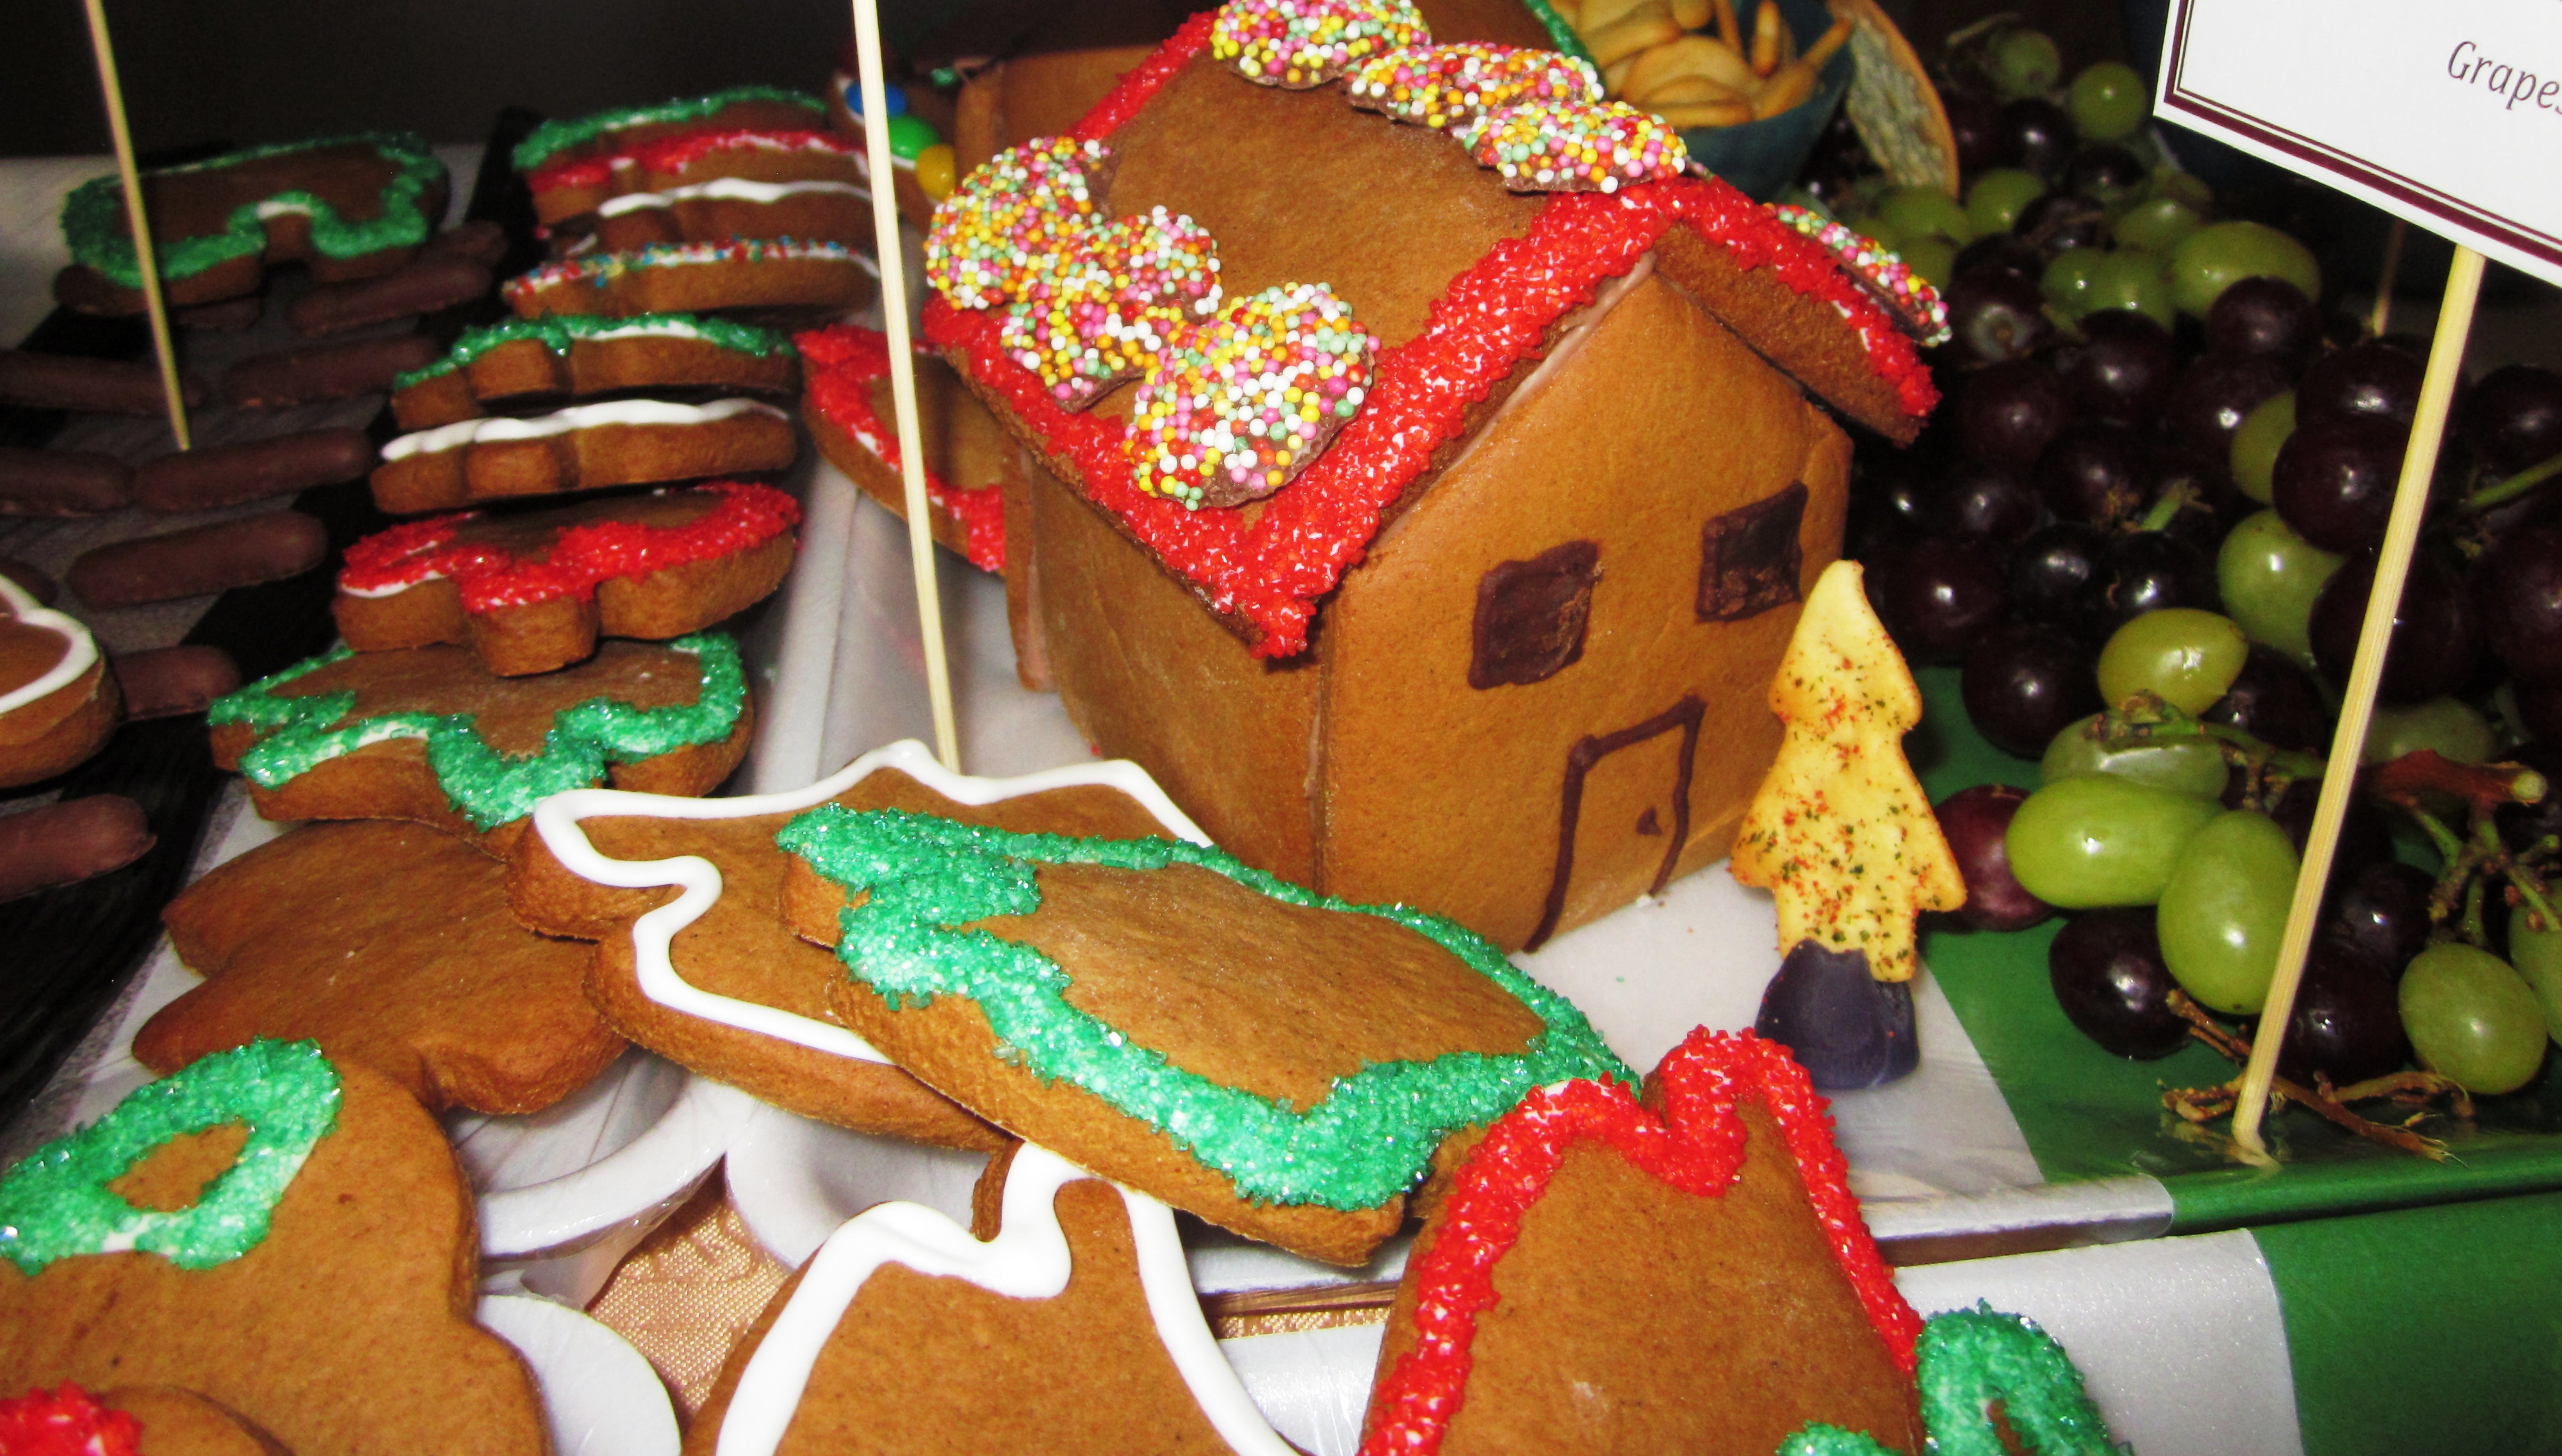
The end result was worth it though, even with my migraine impaired/minimal decorating. These were WA Christmas houses, so no snow covered gingerbread houses in sight! Everyone who tried the gingerbread loved the taste. Once the morning tea was over, I wrapped up the houses and some biscuits in cellophane and gave them to my team to take home. They make a great Christmas gift idea.

In class, we made an A frame house, as this is easier to assemble for a first time attempt. To make it, you will need to make a template rectangle of 150mm x 105mm (you will need to cut three pieces for each house – two sides and a base) and a triangle of 115mm x 115mm x 115mm (you will need two pieces for each house – front and back).

For the smaller (and more detailed) houses, I used a template I found online here. For some I made the roof template slightly longer so I could assemble them differently so that the join didn’t show at the front. To do this I baked the roof pieces separately after I had assembled the base of the houses and determined how long I needed to make the roof. However, if you assemble them so you can see the joins at the front, you don’t need to do this.
Gingerbread biscuits and houses
Makes approximately 1.2kg of dough, enough for two A frame houses (and some extra biscuits) or 3 smaller houses and approximately 25 biscuits
Ingredients
- 600g plain flour
- 8g bi-carb soda (baking soda)
- 8g baking powder
- 32g ground ginger (or a combination of ground ginger, mixed spice and cinnamon, which is what I prefer to use)
- 200g brown sugar
- 120g unsalted butter
- 240g golden syrup
- Water to bring together
- Melted chocolate (white, milk, dark – whichever you prefer) or royal icing to assemble and decorate
- M&Ms, chocolate freckles, coloured sugar etc to decorate – the choice is yours!
Method
1. Preheat the oven to 160C fan forced (180C). Line at least two baking trays with baking paper (grease them first with baking spray so that the paper doesn’t move during cooking, as you want the pieces to cook flat). Cut out your templates (see link or dimensions above). I prefer to use a firm clear plastic sheet to make my templates so they can be washed and re-used.
2. Place the golden syrup and butter into a small/medium sized saucepan and heat over a low heat (stirring occasionally) until the butter has melted and the golden syrup is runny.
3. Meanwhile, sift the flour, baking soda and powder and spices into a large bowl and add the brown sugar. Mix to combine and then add the runny golden syrup/butter mix.
4. Stir to combine (with your hands is easiest) and add a small amount of water to help bring it together into a soft paste/dough. You will need to keep adding the water a bit at a time until it comes together.

5.Once it has come together, gently knead it into a ball on a clean surface. (I separate it into two balls at this stage so it is easier to roll in a smaller batch later). If it is too tacky add a small amount of flour just to help bring it together.

6.Cover with cling film and place in the fridge for at least 10 minutes to firm up slightly.

7. If making ahead to use later, take it out of the fridge at least 30 minutes before you want to use it. If it is still too cold/hard when you want to roll it, place it in the microwave on a low power for about 20 seconds and this will make it easier to handle.
8. On a clean, lightly floured surface, roll out the gingerbread to about 1/2cm thick and then cut out the pieces to form the house (or biscuits). Make sure you keep turning the dough by a quarter as you roll, to ensure it rolls out evenly and doesn’t stick to the surface. You will occasionally need to add some flour on top and under the dough so it doesn’t stick, but try not to use too much.
9. For the gingerbread houses, cut out the pieces using the templates as follows:
- for the A frame house you will need 3 rectangles (base and two sides) and two triangles (front and back).
- for the smaller house (template here), you will need four rectangles (two for the sides and two for the roof) and two of the front/back.
- it is recommended you do at least one extra of each piece as a spare just in case.

Ready for baking – the smaller pieces were just extras that I included to taste test.

10. For the biscuits, cut out with whatever cutters you want to use (dust the cutters with flour so they don’t stick). However, bake the biscuits separately from the house pieces, as the houses have to cook for longer to be firm enough so that they hold their shape.
11. Bake the house pieces for 30 minutes (they need to be dry and well coloured) and the biscuits for 15 minutes.
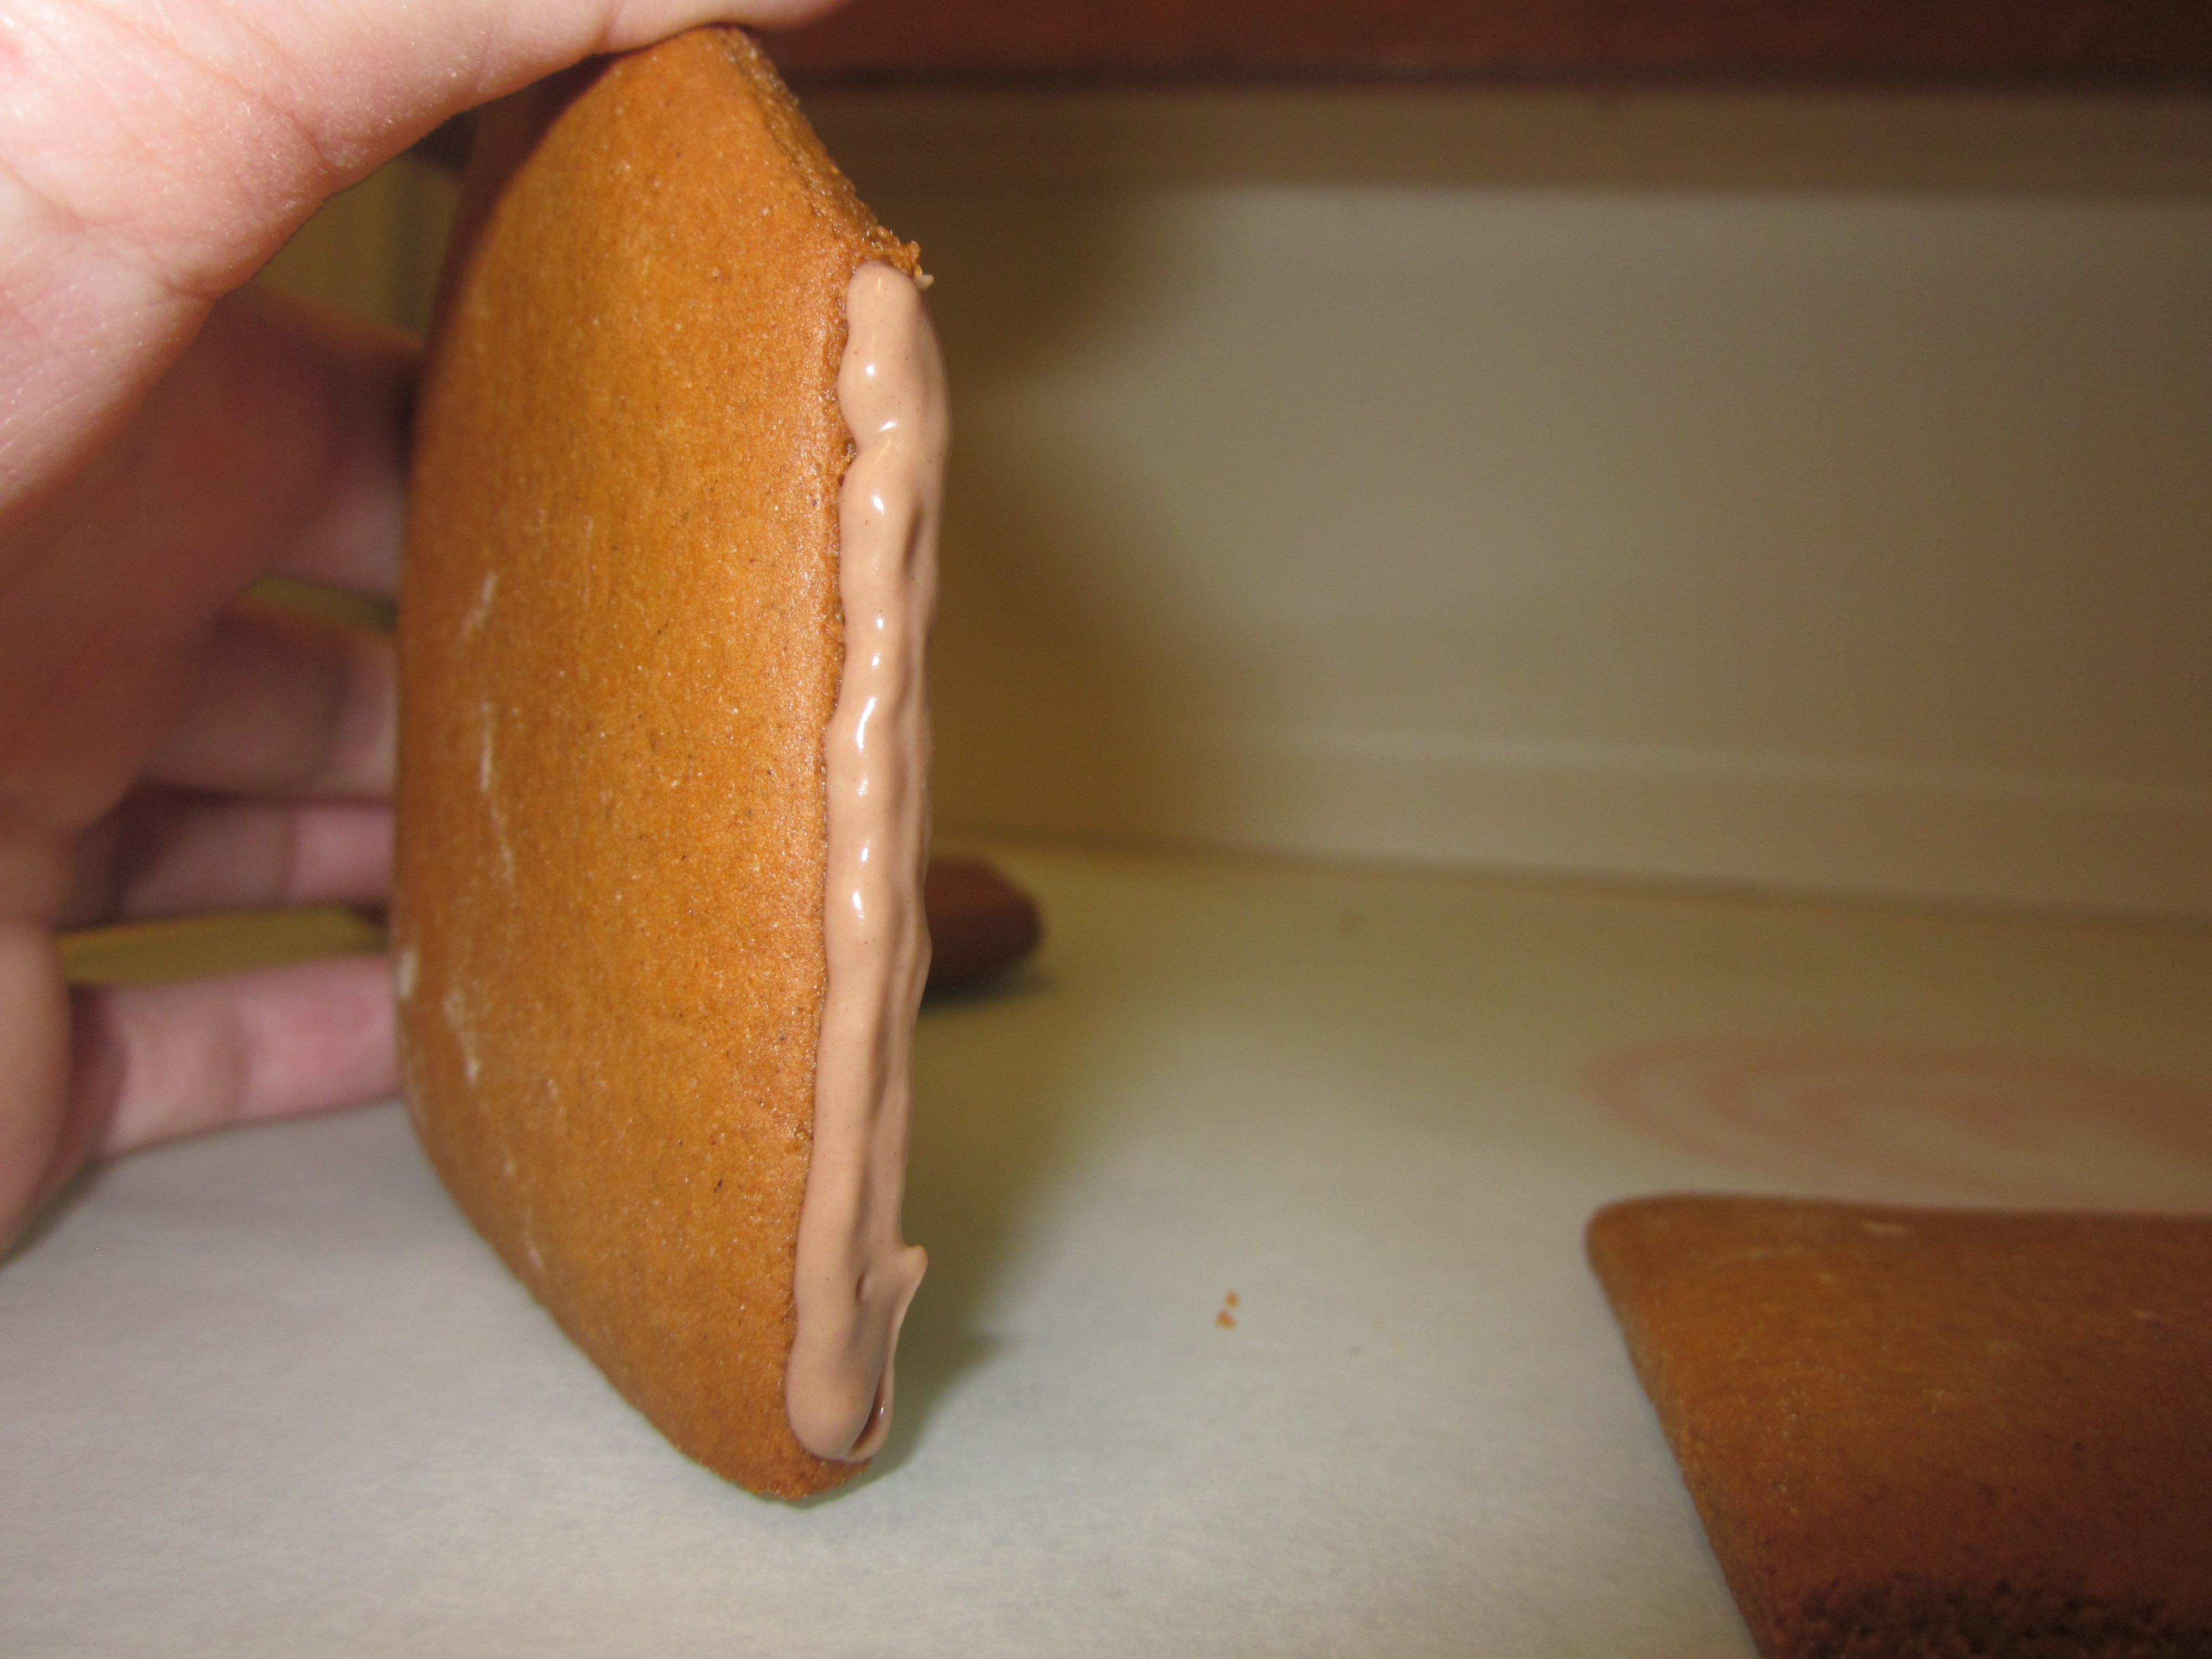
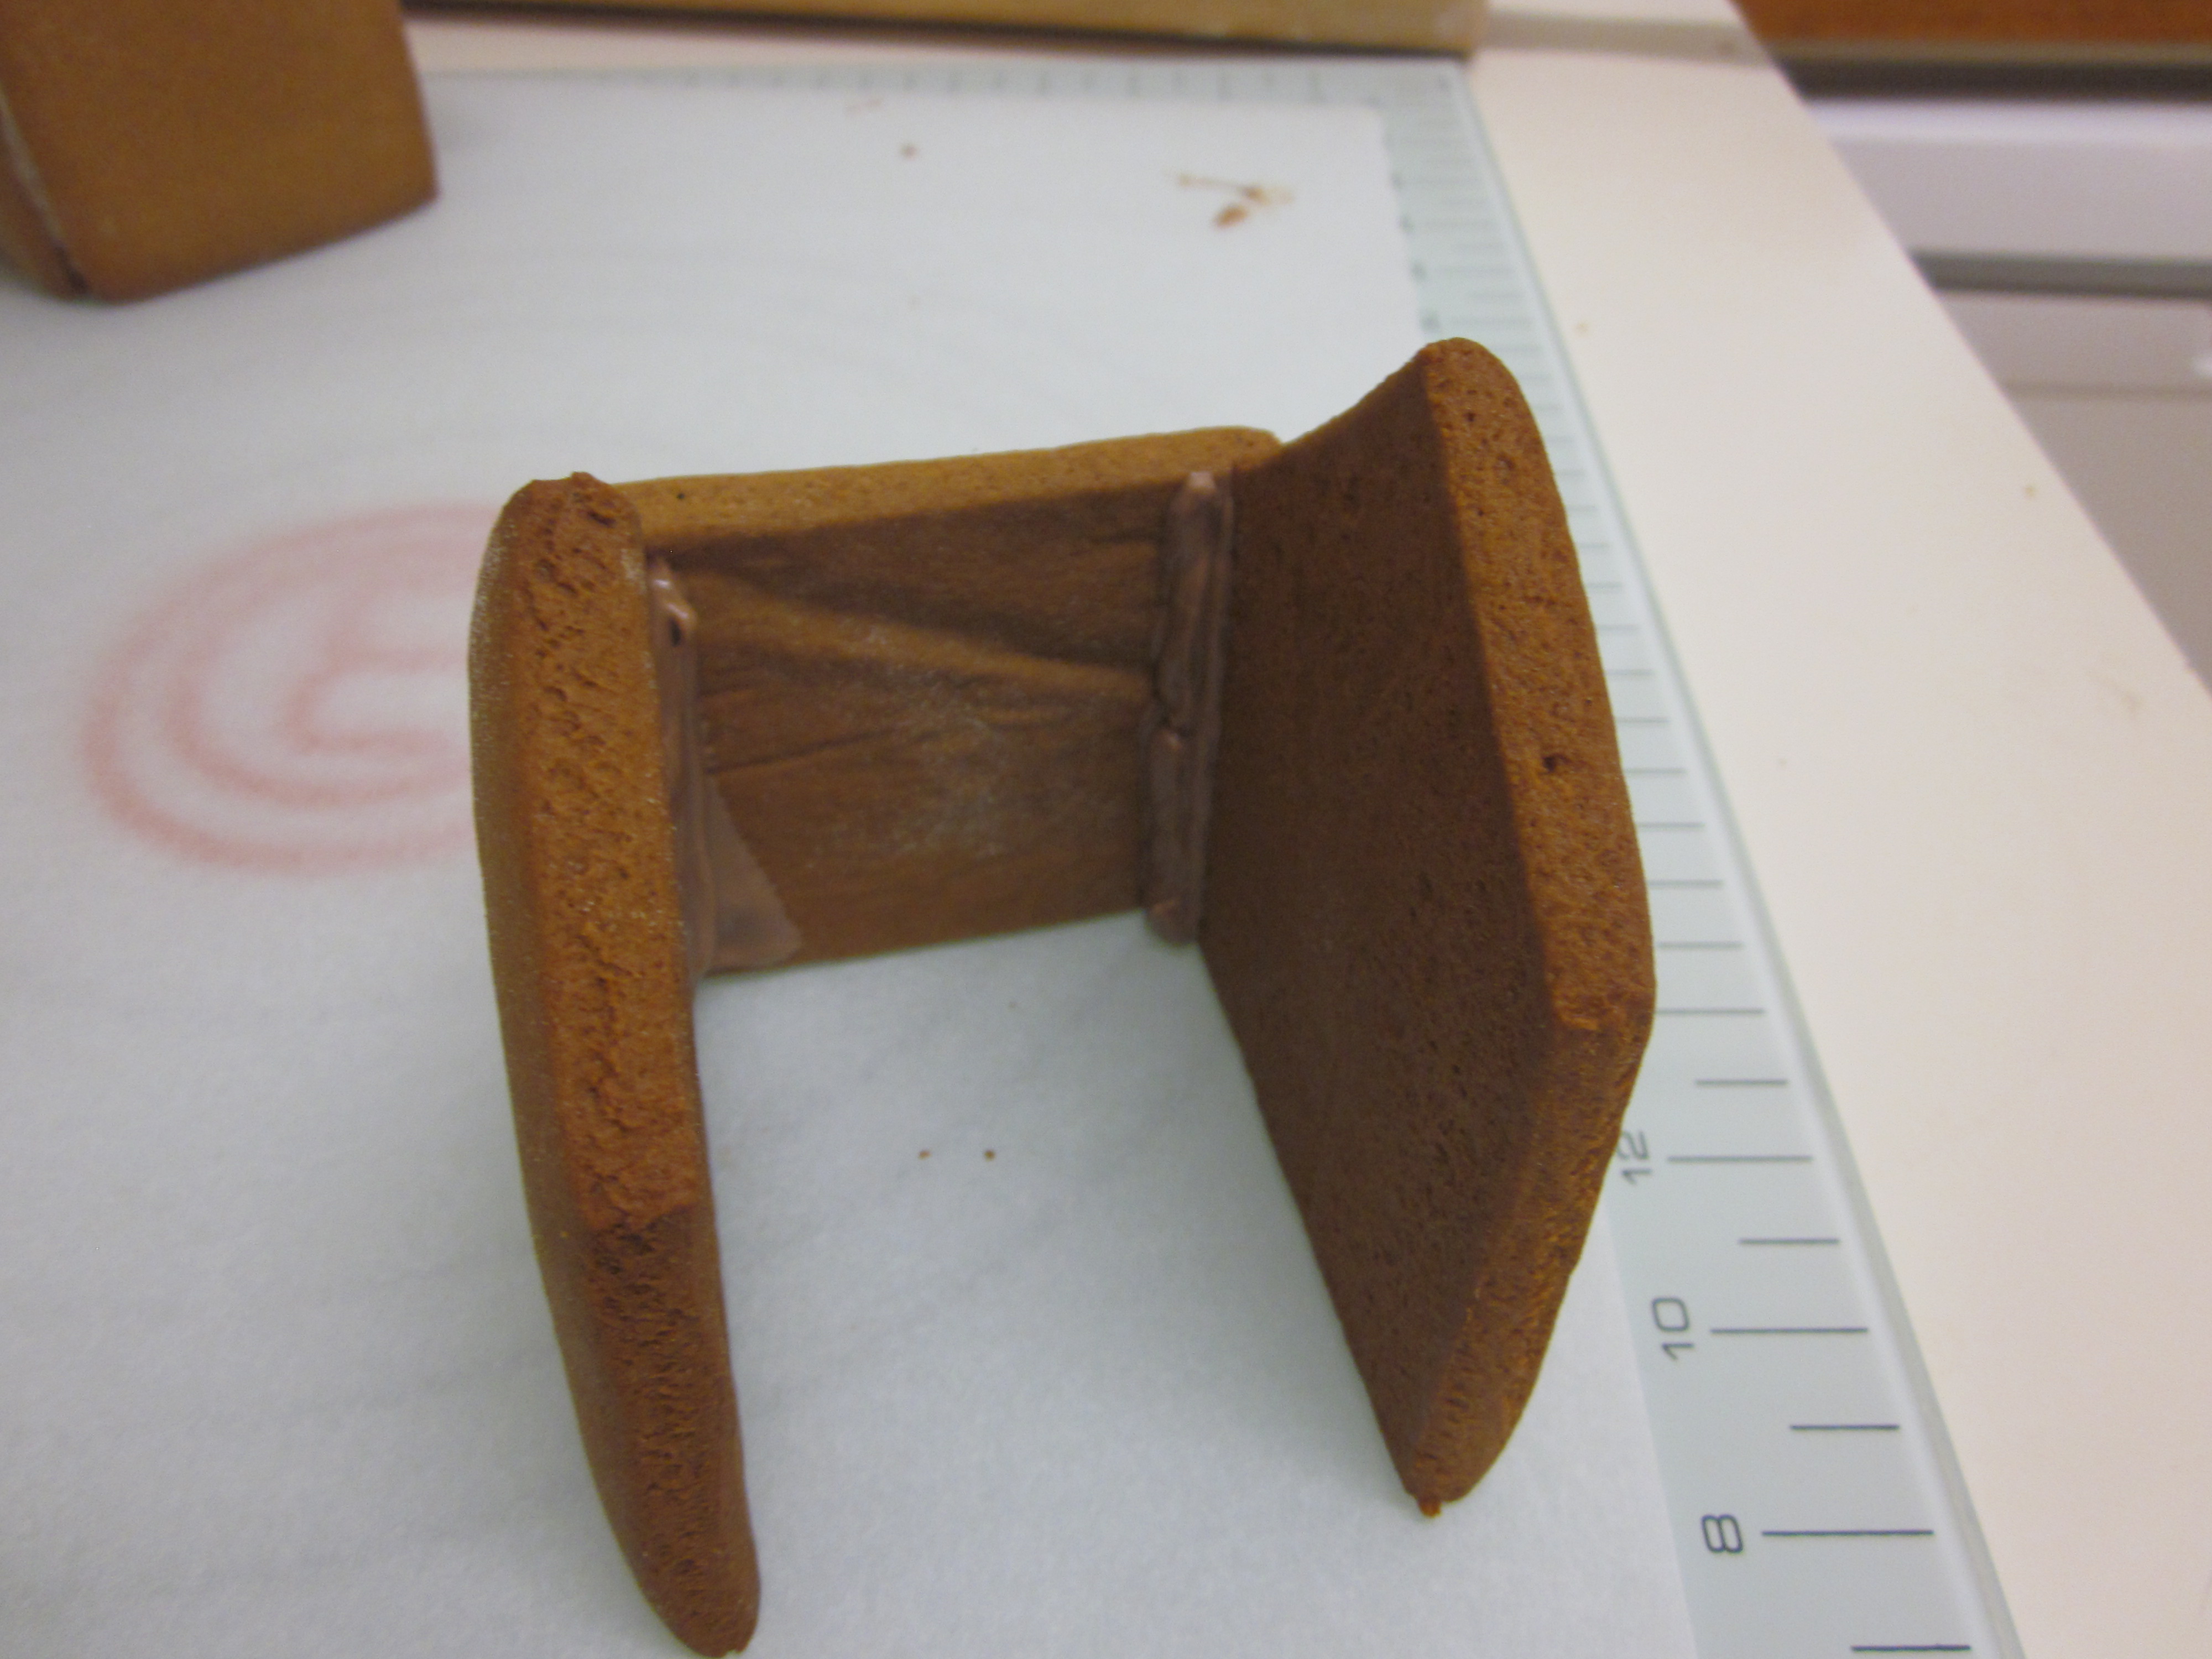
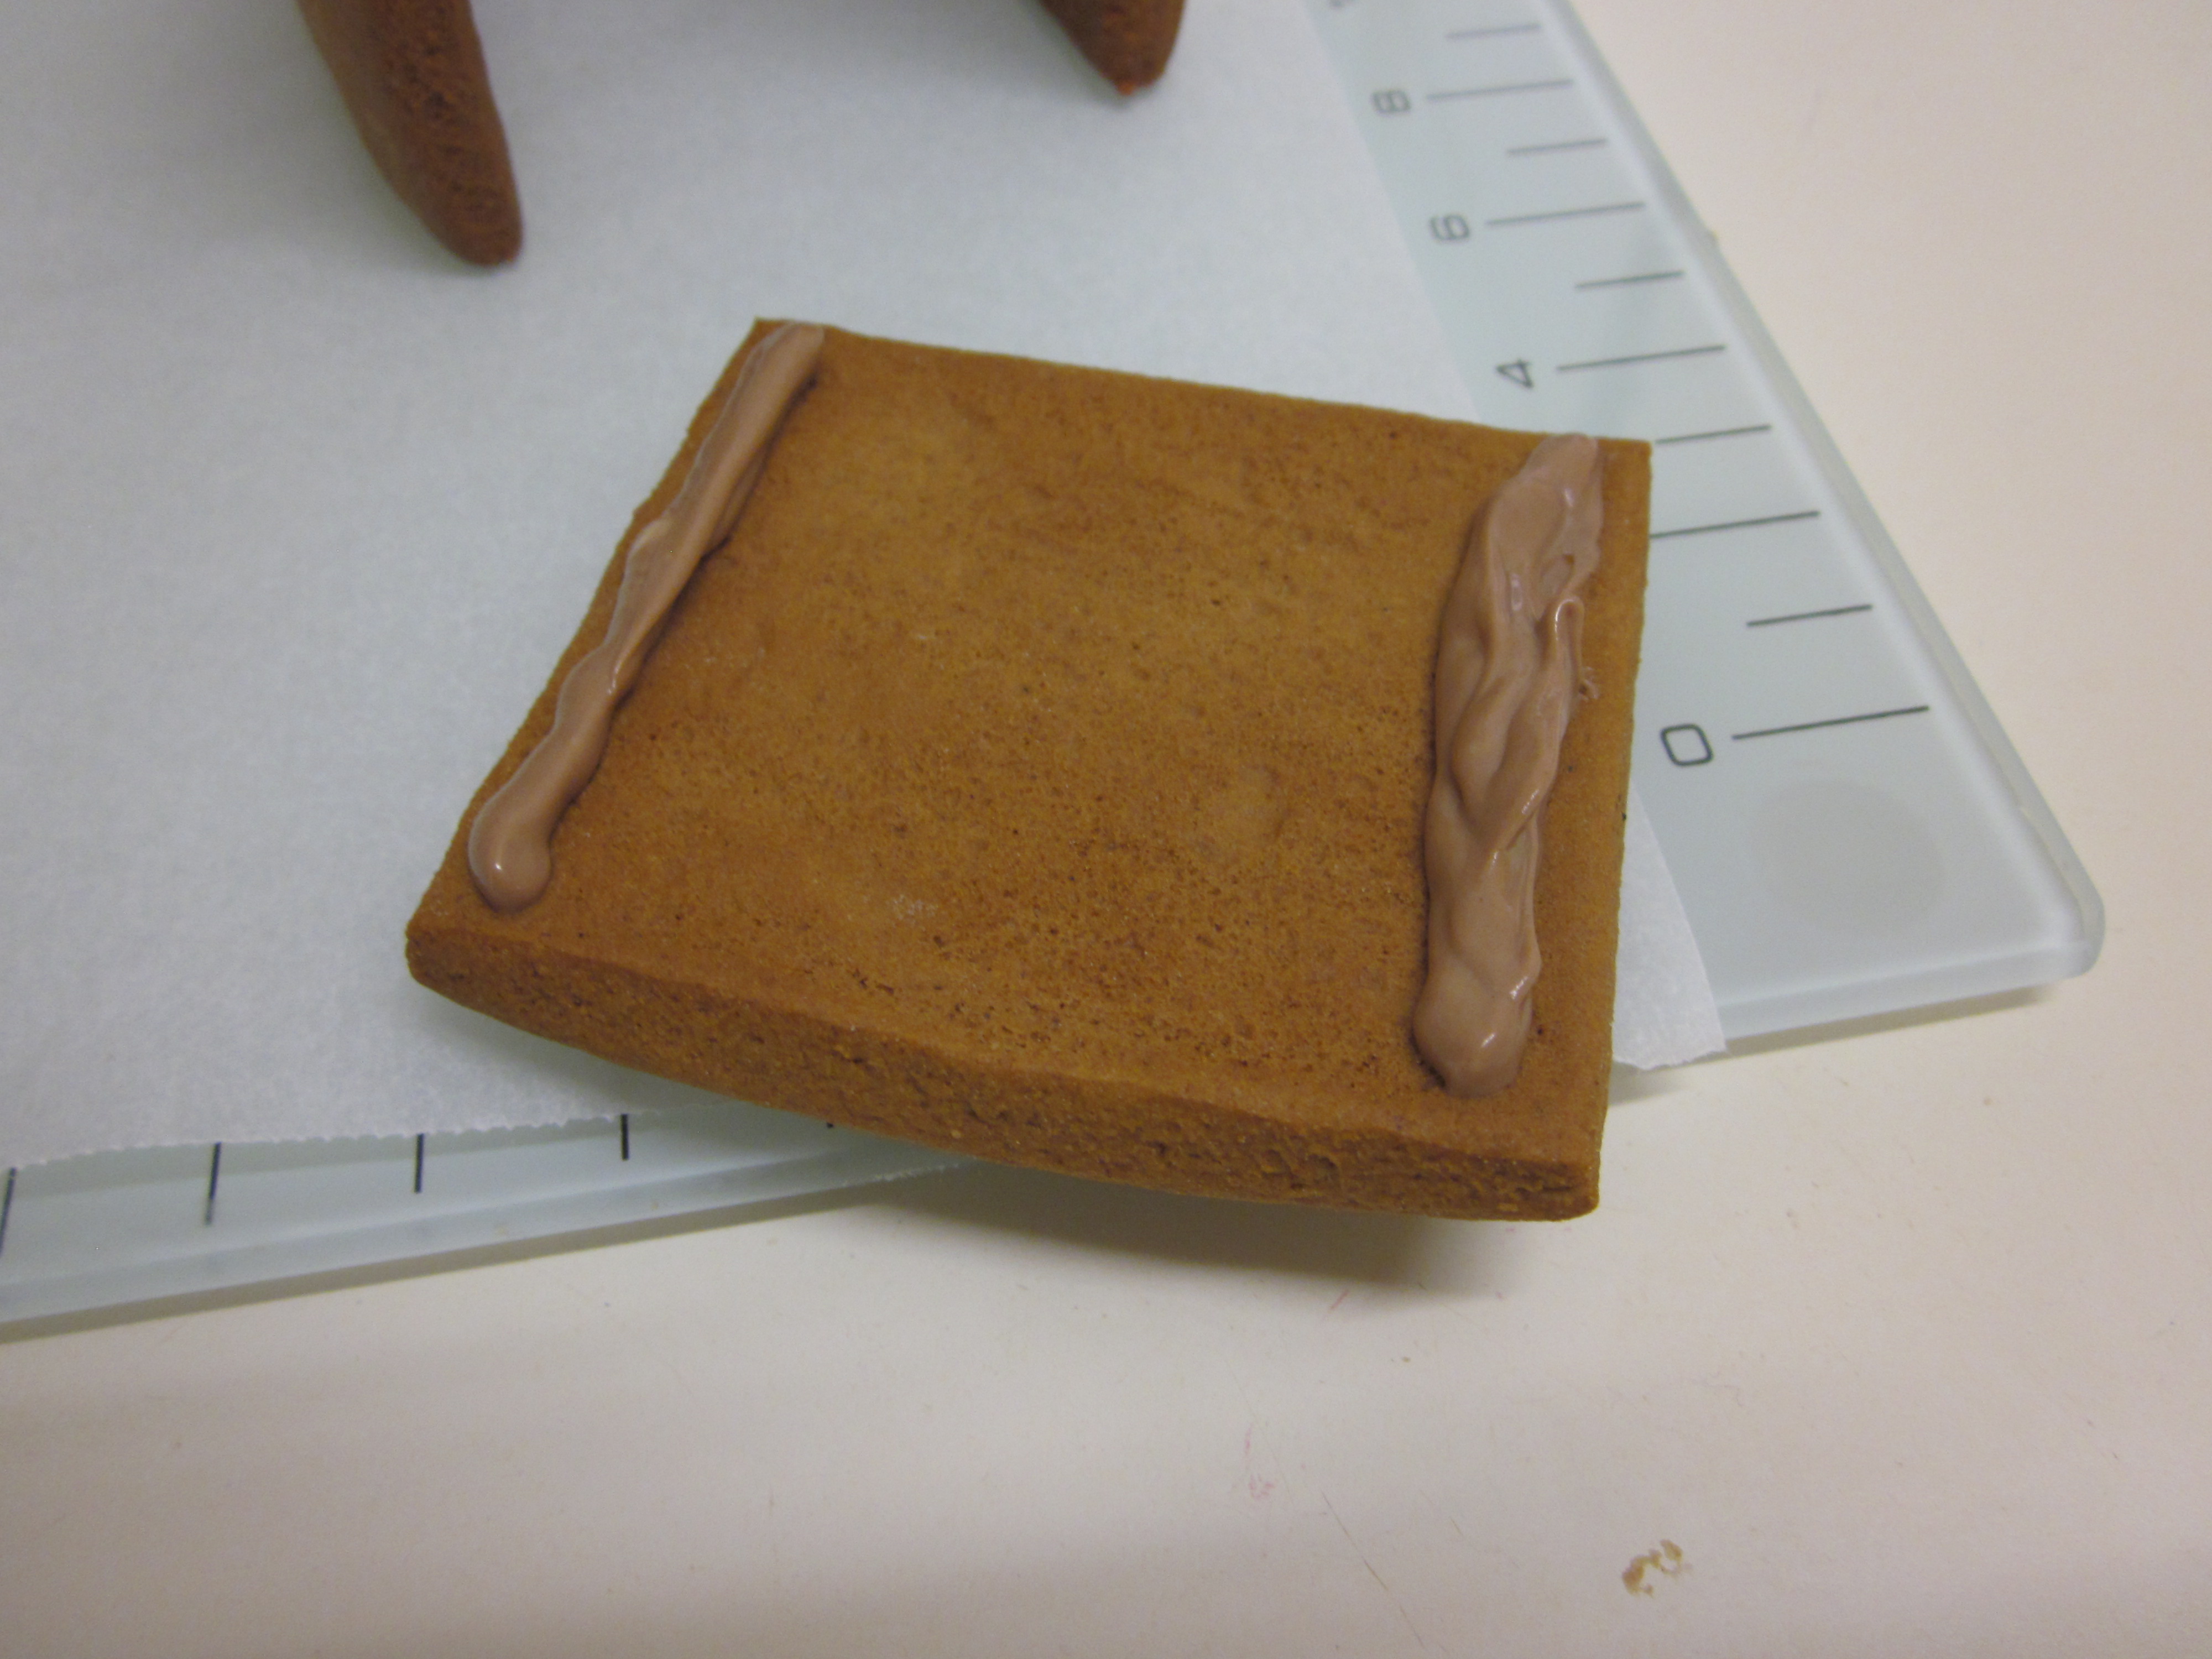
12. Allow to cool completely before assembling/decorating. Assemble with melted chocolate (see photos below). This will take time as you will need to hold the pieces in place until the chocolate has set enough to support them.
13. Once they are assembled, decorate with melted chocolate, sweets, whatever you like. You can use melted chocolate or royal icing to decorate as well as to stick other chocolates/lollies on the house. For a snow effect, you can also dust them with icing sugar.
Assembly


Adapted from Sarah Brigden’s (babyCakes) Gingerbread recipe – Christmas baking class at Tuart College

Published by